Some users may choose to forego the iOS app submission process, and have Liquid State support submit their app instead.
In this scenario, you will need to add your Liquid State support officer as a member within your Apple Developer Portal account, and as an iTunes Connect user within your organisation.
Adding
Overview
For Liquid State to be able to publish your app in the App Store under your name, you must first invite Liquid State to your Apple Developer account. As of 2019, this can be done directly from App Store Connect.
Getting Started
To add Liquid State to your Apple Developer Portal and App Store Connect accounts, you will need:
- Apple Developer Account
- Liquid State email address
Add Liquid State Support to your Apple Developer Portal
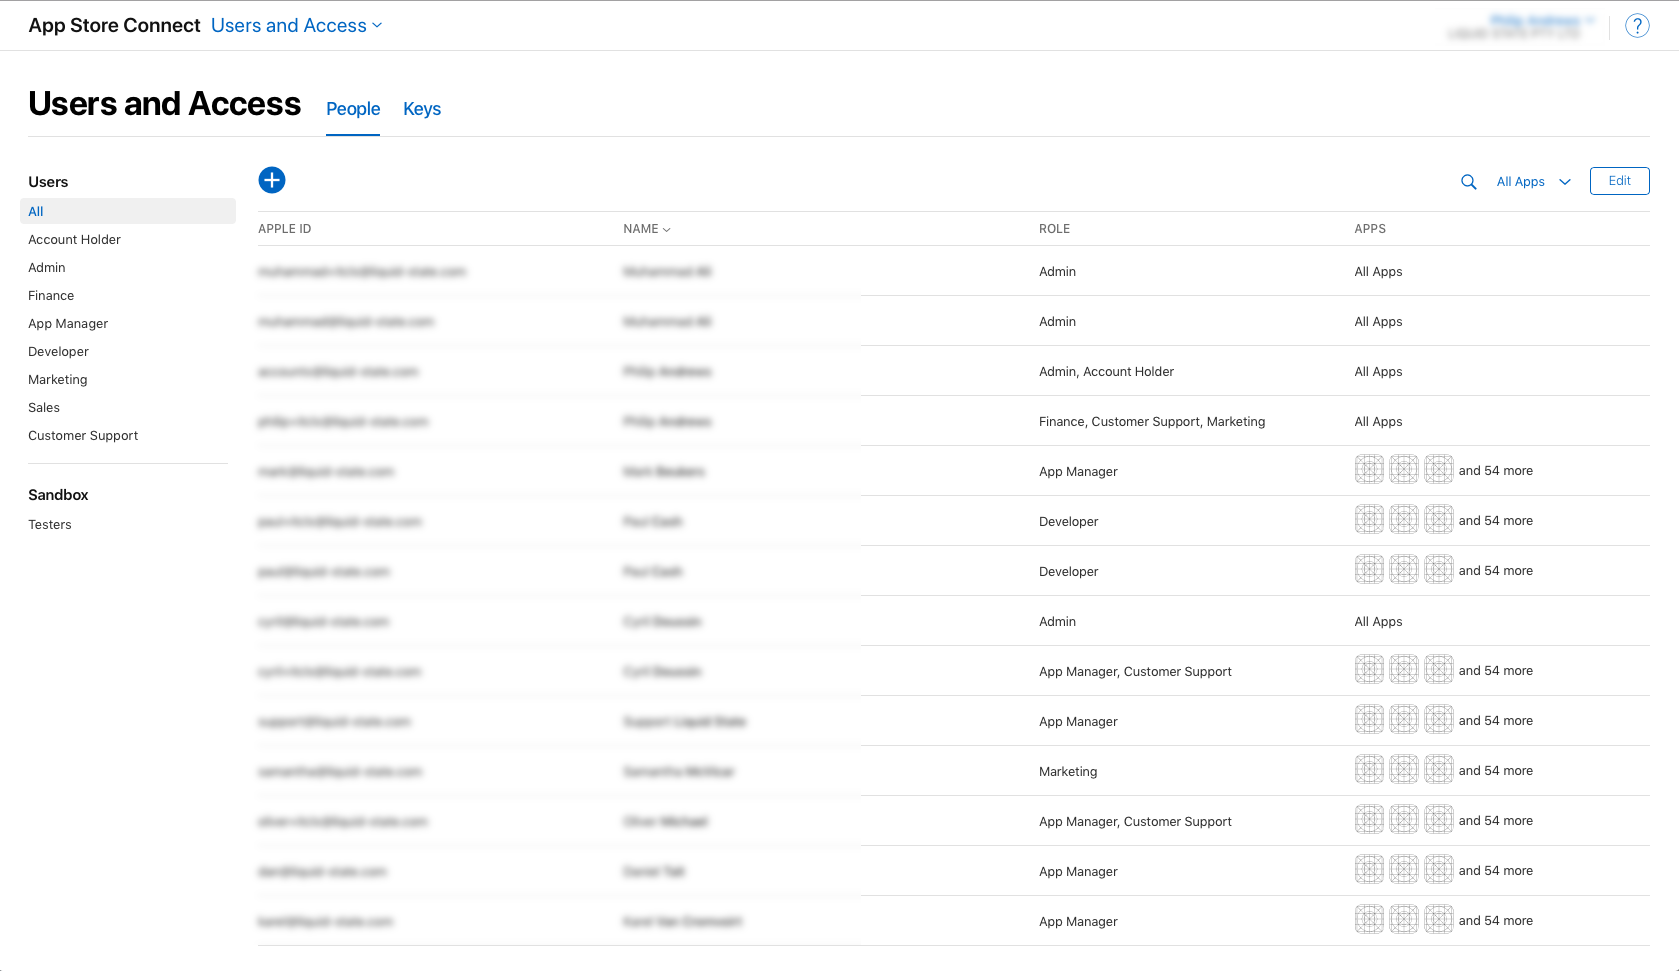
- Go to developer appstoreconnect.apple.com, then click the Member Center link, and sign in Users and Access.
- Click the People window
+ button to add a new User. - Click the Invite People button in the middle of the window.
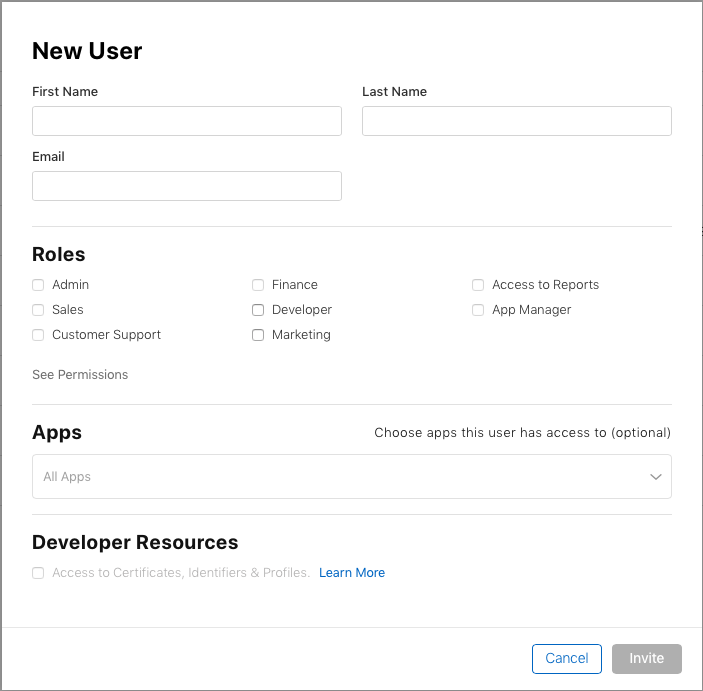
Enter the details provided to you by your Liquid State Support Officer under Invite as Admins
Info These details may be specific to your account.
If you have not yet received these details, please contact your Liquid State support officer directly.
- Under Access and Roles, select Admin for the iOS Developer Program. Select No Access for the Safari Developer Program (if applicable).
- Click the Invite button.
Adding Liquid State Support as an iTunes Connect User
Sign in to itunesconnect.apple.comEnter the details provided to you by your Liquid State support officer.
| Info |
|---|
These details may be specific to your account. |
Select the App Manager role type, then click the Next button.
- Invite (First Name: Gautami | Last Name: Shetty) gautami@liquid-state.com and (First Name: Cyril | Last Name: Doussin) cyril@liquid-state.com
Enter the details provided to you by Liquid State, specifying the following:
roles should be Admin
make sure you grant access to either all apps or to the correct pre-existing app
Click the Invite button. Liquid State will be in touch with you to confirm that the invitation worked fine.


