Push notifications are a great way to communicate with your app users. Push notifications are short messages sent directly to your users' devices.
The Liquid State system allows you to send push notifications to one, or all, platforms within a few clicks.
You can send an instant or scheduled push notifications using OneSignal.
Before you can send push notifications, you must set up a OneSignal.com account.
For more information, see How to: Set up Push Notifications with OneSignal.
Once you have set up a OneSignal.com account, and copied all relevant application keys to your Liquid State Cloud, you can send push notifications to your apps' users.
Send an Instant Push Notification
- Sign into your Ubiquity (Liquid State Cloud) account
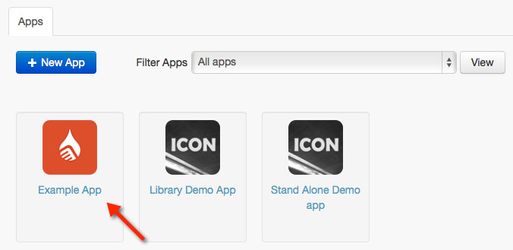
- Click on the relevant app entry in the Apps tab
- Enter the Push Notifications tab

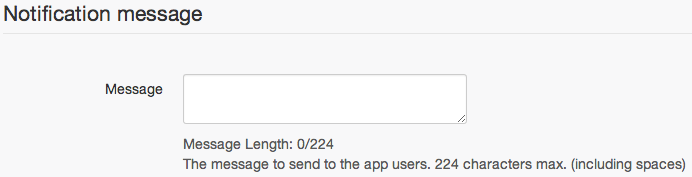
- Enter your message in the Notification message box
- Under Options schedule your push notification to send Now

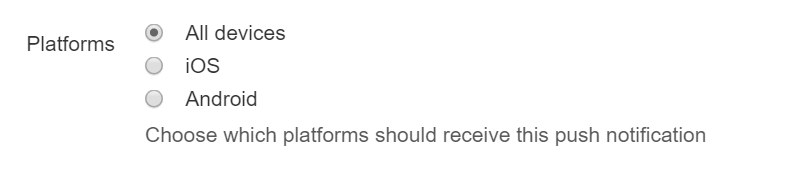
- Under the Options heading, choose the platform(s) to which you want to send your message. You can choose to send your message to iOS, Android, or to send your message to All devices.
- You can also choose Yes or No for the Increment iOS Badge option.
A badge is a small number on a red background, which sits at the top-right of iOS app icons. The number on the badge correlates to how many unread notifications are waiting within the app.
This is a good way to remind users there is a notification waiting in your app. Selecting Yes will increase your app's badge by an increment of 1.
- Finalise your message and options, then click the Send button. Your push notification will be sent to all relevant users' devices.

Send a Scheduled Push Notification
- Sign into your Ubiquity (Liquid State Cloud) account
- Click on the relevant app entry in the Apps tab
- Enter the Push Notifications tab
- Enter your message in the Notification message box
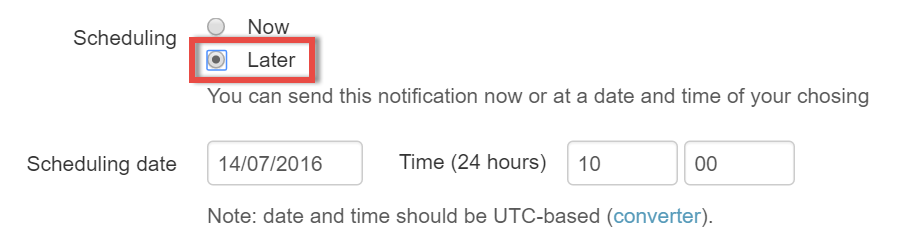
- Under Options schedule your push notification to send Later. You can set the date and time (in UTC) to send your Push Notification in. You can use the converter to find your time relative to UTC timezone.
- Under the Options heading, choose the platform(s) to which you want to send your message. You can choose to send your message to iOS, Android, or to send your message to All devices.
- You can also choose Yes or No for the Increment iOS Badge option.
A badge is a small number on a red background, which sits at the top-right of iOS app icons. The number on the badge correlates to how many unread notifications are waiting within the app.
This is a good way to remind users there is a notification waiting in your app. Selecting Yes will increase your app's badge by an increment of 1. - Finalise your message and options, then click the Send button. Your push notification will be sent to all relevant users' devices.