Categories Overview
By default, the content contained in your app is displayed as a simple library of documents. However, it is also possible to split your content in to multiple Issue Categories.
Issue Categories are a great way to present multiple sets of content, in an intuitive format.
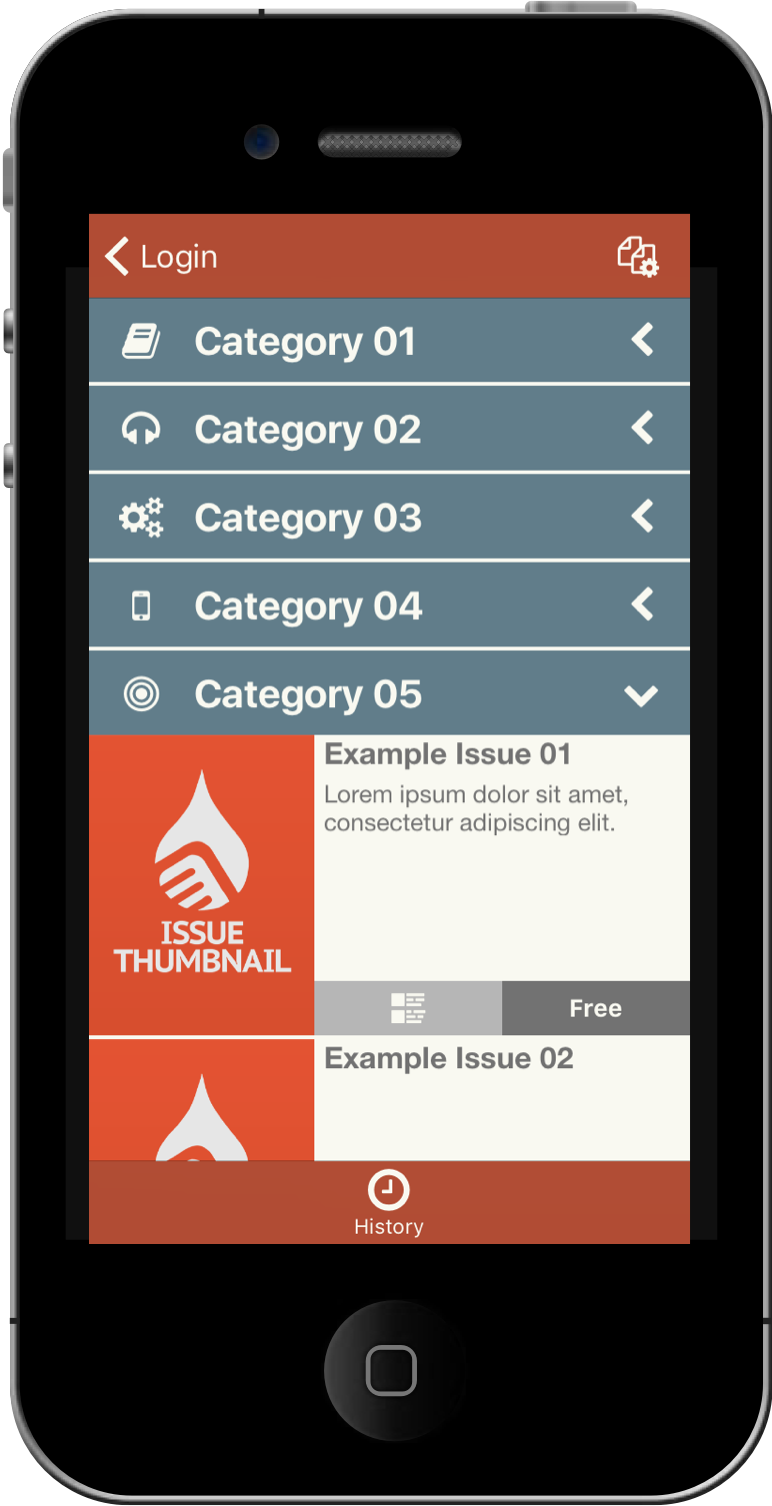
Issue Categories are not distinct content silos - one Issue can be made available in multiple Categories.
If an app user has access to an issue, they will see category headings for every Category where the issue is available.
Accessing Issue Categories Configuration
To access Category configuration options:
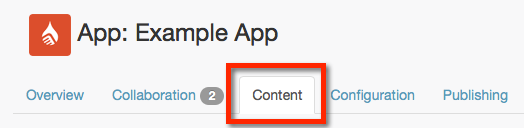
- At the app level, enter the Content tab.
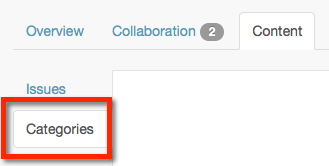
- Within the Content tab, click the Categories tab
Enabling and Disabling Categories
Categories are an optional feature, which can be turned on and off at any time.
When you first build and configure your app, Categories will not be enabled.
To enable Categories, navigate to the Categories section of the Content tab (as above).
Read through the information about enabling Categories, tick the box to indicate your understanding, then click the Enable Issue Categories button.

Once you have enabled Categories, the Categories section of the Content tab will display some category management functions.
You can always disable Categories by clicking the Stop using Categories link.

When you enable Categories, an 'Other' Category will be created and set as the default Category.
You can delete this Category, but you must always have a default Category chosen.
Add a Category
To create a new Category, click the + Add Category button.

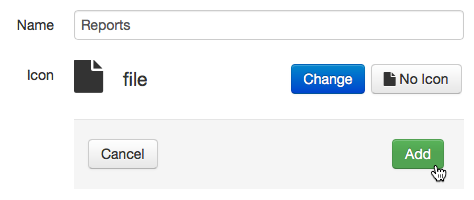
Enter a Name for the Category, which will be displayed in the app.
You can include an Icon for the category, which will also be displayed in the app.
Use the Change button to choose from a page of available icons. If you do not wish to use an icon for the category, click the No Icon button.
Once you have set the name and icon, click the Add button.
Your Category will be created, and you will be taken back to the main Categories view.
Category Management
The Categories within your app are displayed in a list. Category management functions can be found under the Actions heading.

Manage Issues
The main Category action button is Manage issues.
Click this button to see a list of Issues included within the Category.

To remove an Issue from the Category, simply click the Remove button.

To add Issues to the Category, click the Add Issues to this Category button.

Then, locate the relevant Issue and click the Add button.

At any time, you can click the Back to list of Categories button to return to the main Categories view.

Manage Default Category
If you have Issue Categories enabled, you must always have a default Category.
Any new issue that is added to Liquid State Cloud will be automatically added to this default Category.
The default Category has (default) next to its name in the list of Categories.
When you first enable Categories, an 'Other' Category will be automatically created, and set as the default Category.
You cannot delete the default Category.
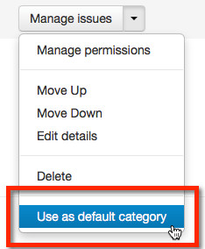
To change which Category is set as the default, click the dropdown arrow under the Actions heading.

Then, click Use as default category.
New issues that are aded in Liquid State Cloud will be automatically placed in to this Category.
Move Categories
The order in which Categories appear in Liquid State Cloud is the same order that they will be displayed in the app.
It is possible to re-order Categories by moving them up or down in the list.
To move a category, click the dropdown arrow under the Actions heading.
Then, click Move Up or Move Down.

The Category will be re-ordered in the list in Liquid State Cloud, and in the corresponding Categories within your app.
Edit Category Details
After a Category has been created, it is possible to update the Category Name and Icon.
To do so, click the dropdown arrow under the Actions heading.
Then, click Edit Details.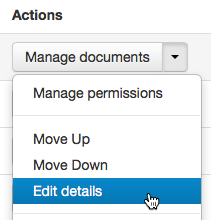
Continue to edit the Category's Name and Icon, then click the Save button.
All changes will take effect within your app immediately. To see the changes on your device, close and relaunch the app.
Delete a Category
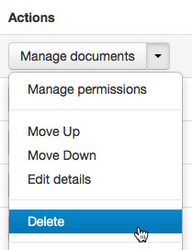
To delete a category, simply click the dropdown arrow under the Actions heading.
Then, click Delete.
The Category will be deleted immediately.
Deleting a Category does not delete any of the content that it contains. However, if an issue only appears in the Category you delete, it will no longer be visible in the app.
Manage Permissions (Ubiquity Only)
Category permissions are an enterprise-level Liquid State Ubiquity feature.
Category permissions are only available in private apps (with app user authentication enabled).
Interested in enabling powerful segmentation features for your app? Contact ubiquity@liquid-state.com
Liquid State Ubiquity users can take advantage of advanced segmentation features to determine exactly which app users and app user groups can access certain Categories.
Category permissions use the same logic as Issue permissions. Category permissions apply in addition to Issue permissions.
Any user who has been given permission to access a Category will see all of the Issues available in the Category, regardless of whether they have been granted permissions at the Issue level.
Furthermore, any user who has been given permission to access a particular Issue that sits inside of a category will see the relevant Issue within the Category, regardless of Category permissions.
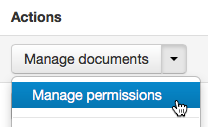
To make a Category available to certain app users or groups, click the dropdown arrow under the Actions heading.
Then, click Manage Permissions.
You will be taken to a Category permissions screen, where you can specify the Access type of the Category:
- Allow all App Users to access All Issues in this Category - a Category using this setting will be available to all app users.
- Only allow selected App Users to access All Issues in this Category - a Category using this setting will only be available to users who have been provided permission to see the Category.
By default, all Categories in an app that has segmentation enabled will be set to Only allow selected App Users to download this Category.
Allow all App Users to access All Issues in this Category
To make the Category available to all app users, select Allow all App Users to access All Issues in this Category, then click the Save changes button.

All app users will be able to see all issues that are contained in the Category.
If you set a Category so that all users can access the issues it contains, all app users will have permission to access all issues within the category, wherever they are available.
If an issues in the Category is also contained within other Categories, all users will be able to see all of the Categories in which that issue is available, even if you have not specifically provided permissions for the user to access those Categories.
Only allow selected App Users to access All Issues in this Category
To provide specicific users and groups with permission to access the Category, ensure it is set to Only allow selected App Users to access All Issues in this Category.
Then, click the Selected Groups or Selected Individuals links.

Select the relevant user(s)/group(s) from the list, and click the Save changes button.
If an issue is contained in multiple Categories, and you provide a user with access to one of the Categories in which it is available, that user will have permission to access the issue wherever it is available.
As a result, the user will be able to see all of the Categories in which the issue is available, even if you have not specifically provided permissions for the user to access those Categories.