How to: Create an iTunes Connect App Record
iTunes Connect is a web-based administrative tool that allows users to distribute and manage iOS apps. iTunes Connect is a separate resource to the Apple Developer Portal. You can have several iTunes Connect logins within your Apple Developer team. If you are the main account holder of your Apple Developer account, your iTunes Connect login credentials will likely be the same as your Apple Developer login credentials.
iTunes Connect can be accessed at: https://itunesconnect.apple.com
If you only intend to distribute free publications on the App Store, you do not need to activate any additional contracts in iTunes Connect – the iOS Free Applications contract is active by default. If you want to distribute paid apps on the App Store, you must request an iOS Paid Applications Contract.
To create an iTunes Connect Record:
- Login to iTunes Connect
- Click the My Apps link.
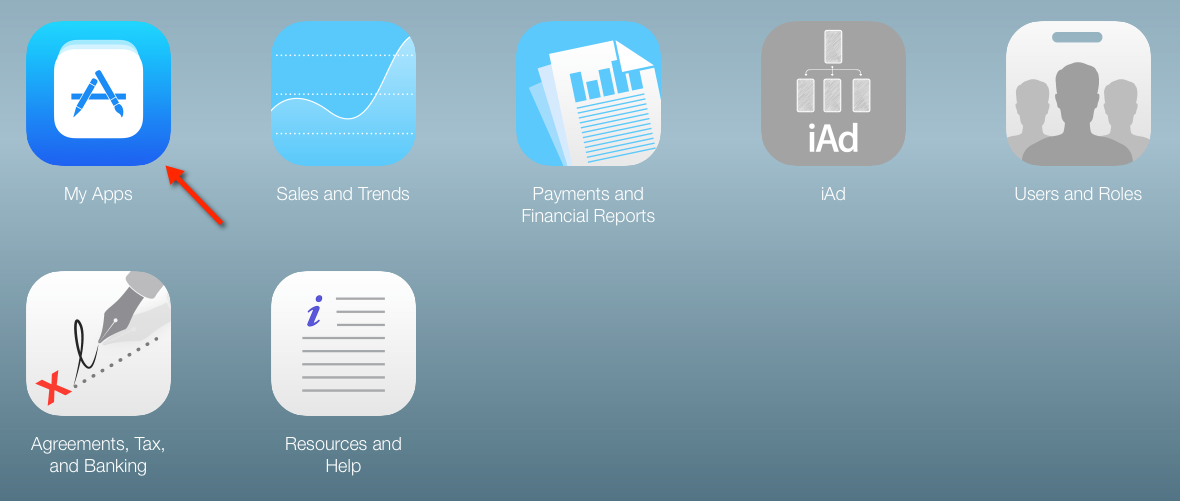
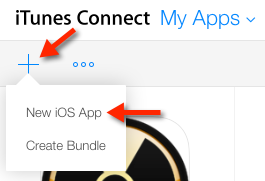
Click the plus symbol ( + ) under the iTunes Connect heading to add a new app. Select the New iOS App option.
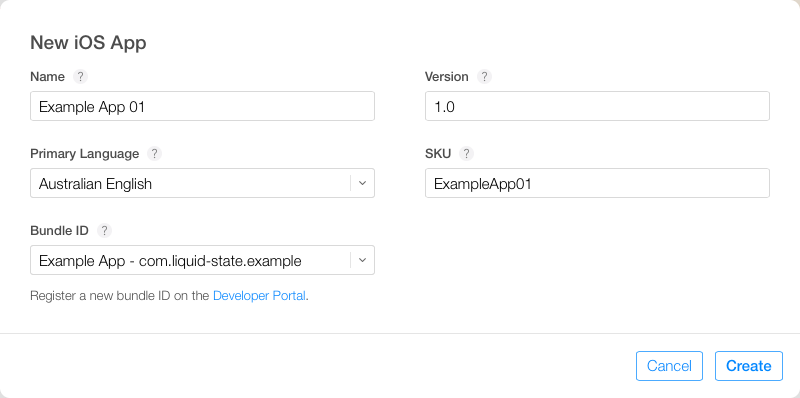
You will then need to enter some general information for your app. Enter the following:
- Name - Enter a name for your App Record. This is not the name displayed in the App Store. To ensure clarity, we recommend entering the same name here as you do for the actual App Store app name.
- Version - As this is a new app, you should enter your version as 1.0. You will incrementally increase your version number with subsequent updates to your app.
- Primary Language - Enter the lanuage that your app's content and/or App Record are written in.
- SKU - The SKU is a unique combination of letters and numbers, used to identify your app. Your app's SKU will not be visible in the App Store. Your app's SKU is not editable.
- Bundle ID - From the dropdown list, select the app ID you created for your app.
Once you have entered these details, click Create.
Upload and Submit Your App
Once you have completed all of the steps above, you can move on to signing your app and uploading your app's .ipa file using Application Loader.
With your app's .ipa file successfully uploaded, navigate back to iTunes Connect.
Enter your app's App Record, then scroll down to the Build heading under the Versions tab.
You can now select to add the build (.ipa file) that you uploaded with Application Loader.
To add the build, click the plus symbol ( + ) next to the Build heading.
If you do not see a plus symbol next to the Builds heading, your build may still be processing. If this is the case, your build will be listed in the Prerelease tab.
In this scenario, you can simply wait for your build to become selectable. Try checking back every few hours.
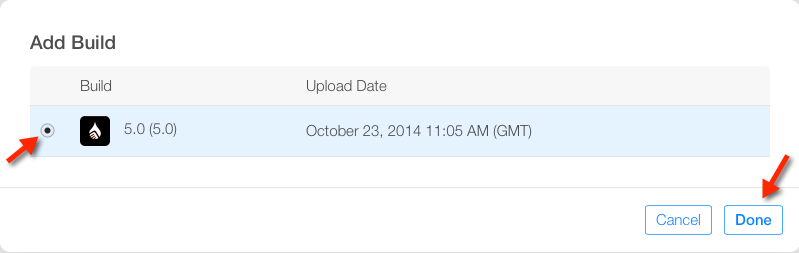
In the overlay, select your build, then click the Done button.
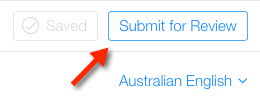
Save your progress, then click the Submit for Review button towards the top of the page.
Your app will now go in to Waiting for Review status. Apple will review your app before approving it for distribution on the iOS App Store. You will receive an email once your app's review is complete.
Unless otherwise indicated in the Overview page of this WIKI the information contained within this space is Classified according to the /wiki/spaces/ISMS/pages/739344530 as |
INTERNAL |