How to: Create iOS In-app Purchases
Along with being made available in the Liquid State Ubiquity, iOS In-App Purchases (IAPs) must be set up in iTunes Connect.
Before creating your IAP in iTunes Connect, ensure you have followed the instructions listed in How to: Create In-App Purchases.
You do not need to submit free downloadable content to Apple. Only paid IAPs must be configured in platform developer portals.
To offer paid iOS content, you must request an iOS Paid Applications Contract, as outlined here.
The process for creating your the first In-app Purchase (IAP) for your iOS app is somewhat different to the process for submitting subsequent iOS IAPs.
Your first IAP must be submitted along with a new version of your app. This can be the initial app submission, or an app update. Subsequent IAPs can be submitted independently.
You can also set up a price schedule for your IAP, even after it has been published.
Creating your App's First IAP
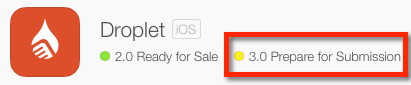
As mentioned above, your first iOS IAP must be submitted along with a new app version. Your new app version's iTunes Connect status must be Prepare for Submission.
To create the first IAP for your iOS app, sign in to iTunes Connect and click on My Apps.
Then click on the relevant app record.
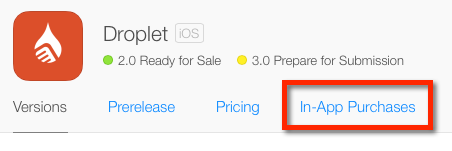
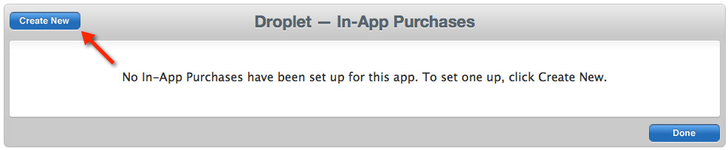
Within the In-App Purchases tab, click the Create New button.
Select Non-Consumable as the IAP type. Liquid State apps do not support any other type of IAP.

On the next screen, you will enter some details about the IAP.
Give the IAP a recognisable Reference Name. It is usually best to give your IAP the same name as the content itself.
The Product ID you enter for your IAP must be the same as the product ID for your content in the Liquid State Ubiquity.
You can find your content product ID in the document level configuration tab within your Liquid State Ubiquity.
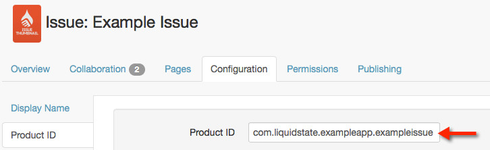

Always double check your product ID. An incorrect product ID will prevent your IAP from being approved.
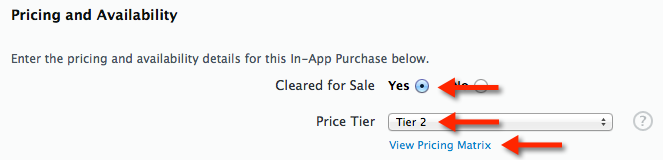
Under the Pricing and Availability heading, select Yes for the Cleared for Sale option. Then, select a Price Tier.
If you're unsure about which price tier you want to select, click the View Pricing Matrix link.
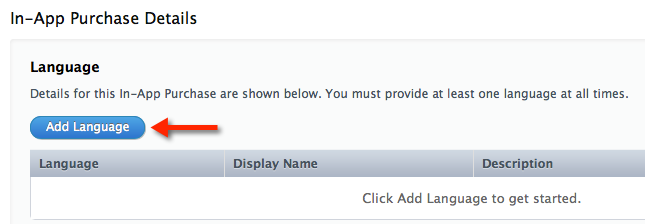
You will enter the bulk of your IAP's details in the In-App Purchase Details section.
You can enter these details in multiple languages. You must include details in a minimum of one language.
To add details for your IAP, click the Add Language button.
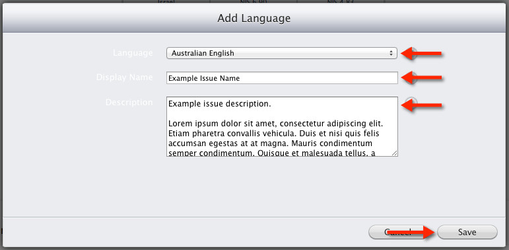
This will open an Add Language overlay. Within this overlay, select a Language.
The Display Name and Description are not displayed to your app users. However, Apple will look at these details as part of the app review process.
We recommend copying across the name and description of your content from Liquid State Ubiquity.
Once you have entered these details, click the Save button.
Back in the In-App Purchase Details section, select No for the Hosting Content with Apple option. All downloadable app content is hosted and served by Liquid State.

You should not need to enter any Review Notes. However, if you wish to, you can enter some information here that Apple will consider when reviewing your IAP.
Upload a Screenshot for Review. This is a screenshot of your IAP in action. You can take this screenshot by installing an Ad Hoc build of your app directly on to an iOS device.
Double check your IAP details, then click the Save button at the bottom-right of the page.

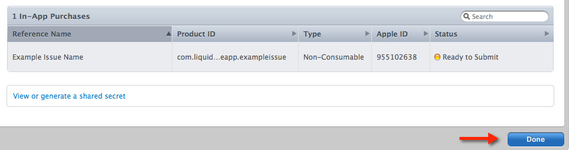
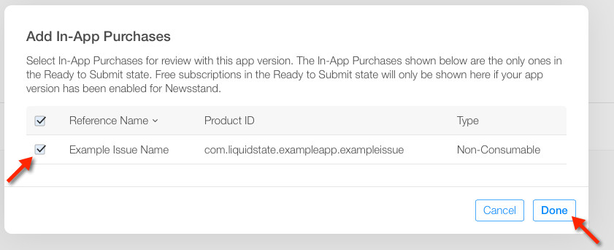
You will be redirected back to your In-App Purchases list. Your new IAP will be listed in the In-App Purchases table, with Ready to Submit status. Click the Done button.
Now, you will be taken back to your app record's Versions tab. Here, you can add your newly created IAP to the version of your app which is currently in Prepare for Submission status.
To do so, scroll down to the In-App Purchases heading. A plus symbol ( + ) will appear next to this heading.

Click the plus symbol ( + ), and select your IAP. It is a good idea to perform a final check of the Product ID here against your document product ID in the Liquid State Ubiquity.
Click the Done button.
Your first IAP will now be included when you submit this version of your app for review.
If you are completely ready to submit your new app version, you can save your progress, then click the Submit for Review button at the top-right of the page.
This will finalise your app version submission, including your app's first IAP.
Creating Subsequent IAPs
After your first IAP has been approved, you can continue to add subsequent IAPs through iTunes Connect.
You do not have to submit subsequent IAPs along with a new app version, meaning the process is much more straightforward.
As with your first IAP, ensure your downloadable content has been made available for purchase in Liquid State Ubiquity.
For more information, see How to: Create In-App Purchases.
To add IAPs, navigate to the In-App Purchases tab within your iTunes Connect app record.
Your first IAP will be listed in the In-App Purchases table, with Approved status.
To add a new IAP, simply click the Create New button at the top-left of the page.
Continue to create your IAP, following the same steps that you followed when creating your app's first IAP.
Once you have saved your IAP, it will also show up in the In-App Purchases table. It's status will be Ready to Submit.
Select the IAP.

Then, scroll up to the top of the table and click the Submit for Review button.

Your IAP will be added to your app after a brief review by Apple.
Defining Price Schedules for IAPs
iOS IAPs can be set to change price over time. This is achieved by creating a price schedule for your IAP.
Create your IAP first, using the steps listed above. Once your IAP has been created, navigate back to the In-App Purchases tab for your app record.
Click on your IAP's row in the In-App Purchases table.
 \
\
Then, click the Edit button next to the In-App Purchase Summary heading.
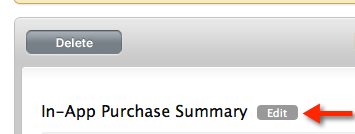
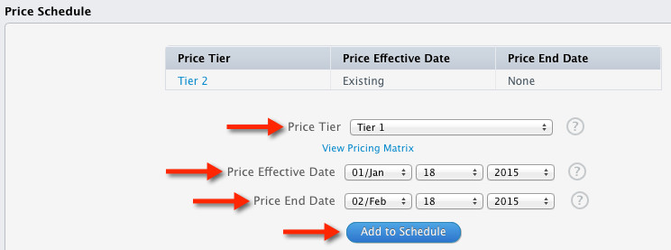
An Edit In-App Purchase Summary overlay will appear. You can define a price schedule for your IAP here.
To do so, simply select a Price Tier, enter the Price Effective Date and Price End Date, then click the Add to Schedule button.
Once you have added all necessary price schedules, click the Save button in the Edit In-App Purchase Summary overlay.
Your new price will be added to your price schedule. Changes will take place automatically, as scheduled.

Unless otherwise indicated in the Overview page of this WIKI the information contained within this space is Classified according to the /wiki/spaces/ISMS/pages/739344530 as |
INTERNAL |