| Panel | ||||||||||
|---|---|---|---|---|---|---|---|---|---|---|
| ||||||||||
|
Overview
To begin the process of updating your Android app, sign-in to the Google Play Developer Console.
Simply click on the app you want to update.
When updating your app, options will appear along the far left-hand side of the app.
Most of the options you will be interested in will include Release Management, Store Listing, Content Rating, Pricing & Distribution, In-app Purchases and Services & APIs.

Release Management (Uploading APK)
| Info |
|---|
Following are the steps: |
If you have built your new APK and downloaded it, you can upload new APK to Production. Click on Release Management from the options and then click App releases. After that click on Manage Production.
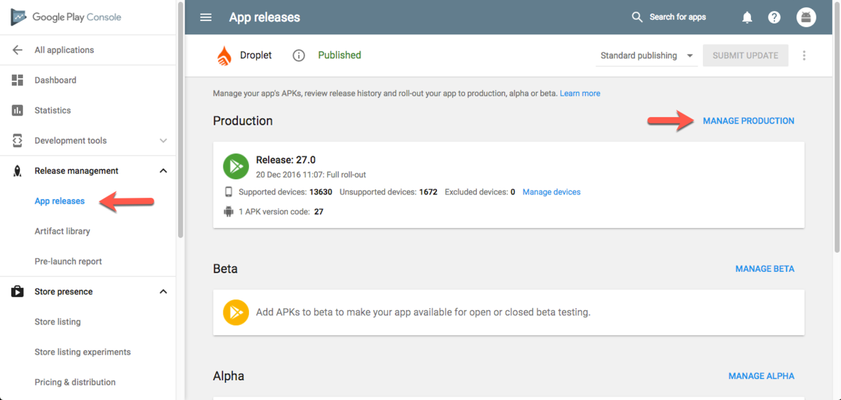
Proceed to click on Create Release
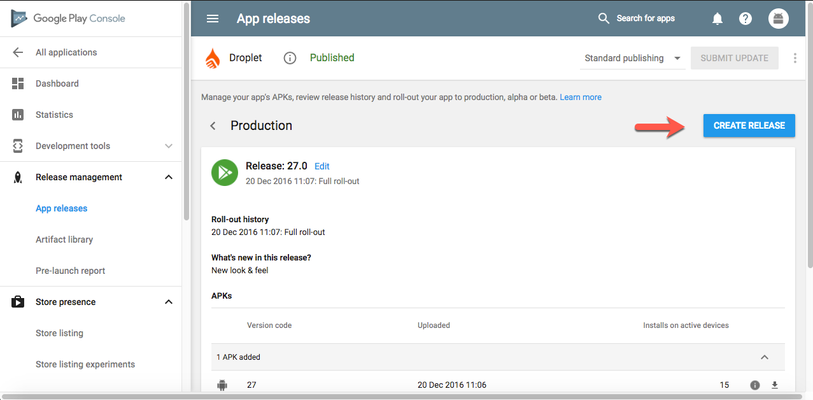
You can upload a new APK or add an existing APK from library.
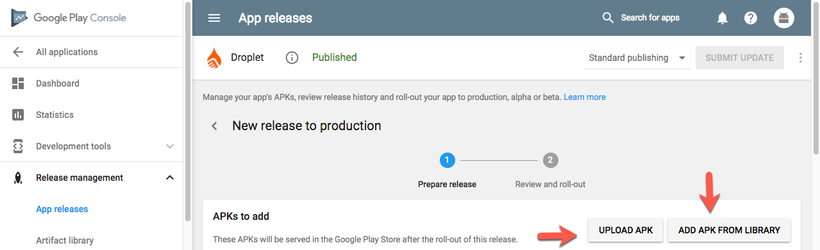
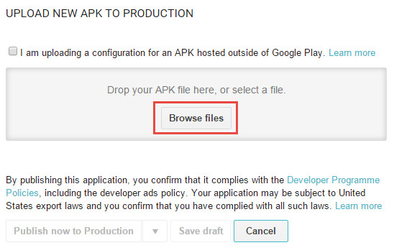
The following screen will open and select 'Browse files' to upload your APK.
Updating your Android app on the Google Play Store will be required if you make structural changes to the application's underlying code (rebuilding it, enabling app users etc.). Updating an app on Google Play is very simple and takes about 4 hours to process.
To update your Android app on Google Play:
- Download your updated app from Ubiquity
- Sign in to your Google Play Console
- Click on your app entry
- Click on Release Management
- Click App Releases
- Click Manage Production
- Click on Create Release
- Click Upload Apk
- Browse files and locate the download apk in your folders
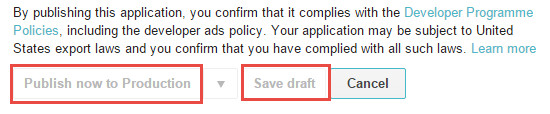
- Once your APK is uploaded you have a variety of options to choose from.
- Publish now to Production - uploads APK
- Save Draft - saves this for later
Store Presence
The Store Presence tab is where you can update a variety of different elements regarding your app. Click on it and then proceed to click Store Listing.

Product Details
Here you can update your title, short description and full description as it appears in the Google Play Store.

Graphics Assets
Graphics Assets allows you to upload screenshots of your app for display in the Google Play Store.
Add your screenshot by selecting Add screenshot or Drop image here.
If your app has new features, a new screenshot can be uploaded here to showcase.

Categorisation
Categorisation enables you to select the categories your app will fall under in the Google Play Store.
It is important for your app to be categorised correctly for users to easily find.
If you believe your app has changed categories, simply select relevant category from the drop down menu.

Content Rating
This menu will allow you to select the rating for you audience.
Adjust this appropriately in reference to your app content.
A selection in Categorisation under the Content Rating menu will affect what you see here.
Pricing & Distribution
The Pricing & Distribution is the menu that allows you to change your distribution options and price for your app.
| Info |
|---|
If your app was initially released as 'free' it cannot be changed to a paid app |
In-App Products
In-App Products enables you to establish products that you may want to sell for a price inside the app - regardless of whether your app is free or not
Services & APIs
The Services & APIs tab allows you to add and modify available services that your app will have access to. For example, being accessed via the Google Play Store.
The APIs section may not be too relevant for an already established Android app that you wish to update.
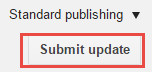
Submit Update
Once you have completed all your desired updates to your application click the Submit Update button.