Contents
| Table of Contents |
|---|
This section provides a guide and instructions for managing Documents in the dashboard.
STEP 1: Navigate to your Documents
Select the “Content” menu option from the left menu panel in the dashboardDashboard. Click on “Documents” in the drop-down menu.

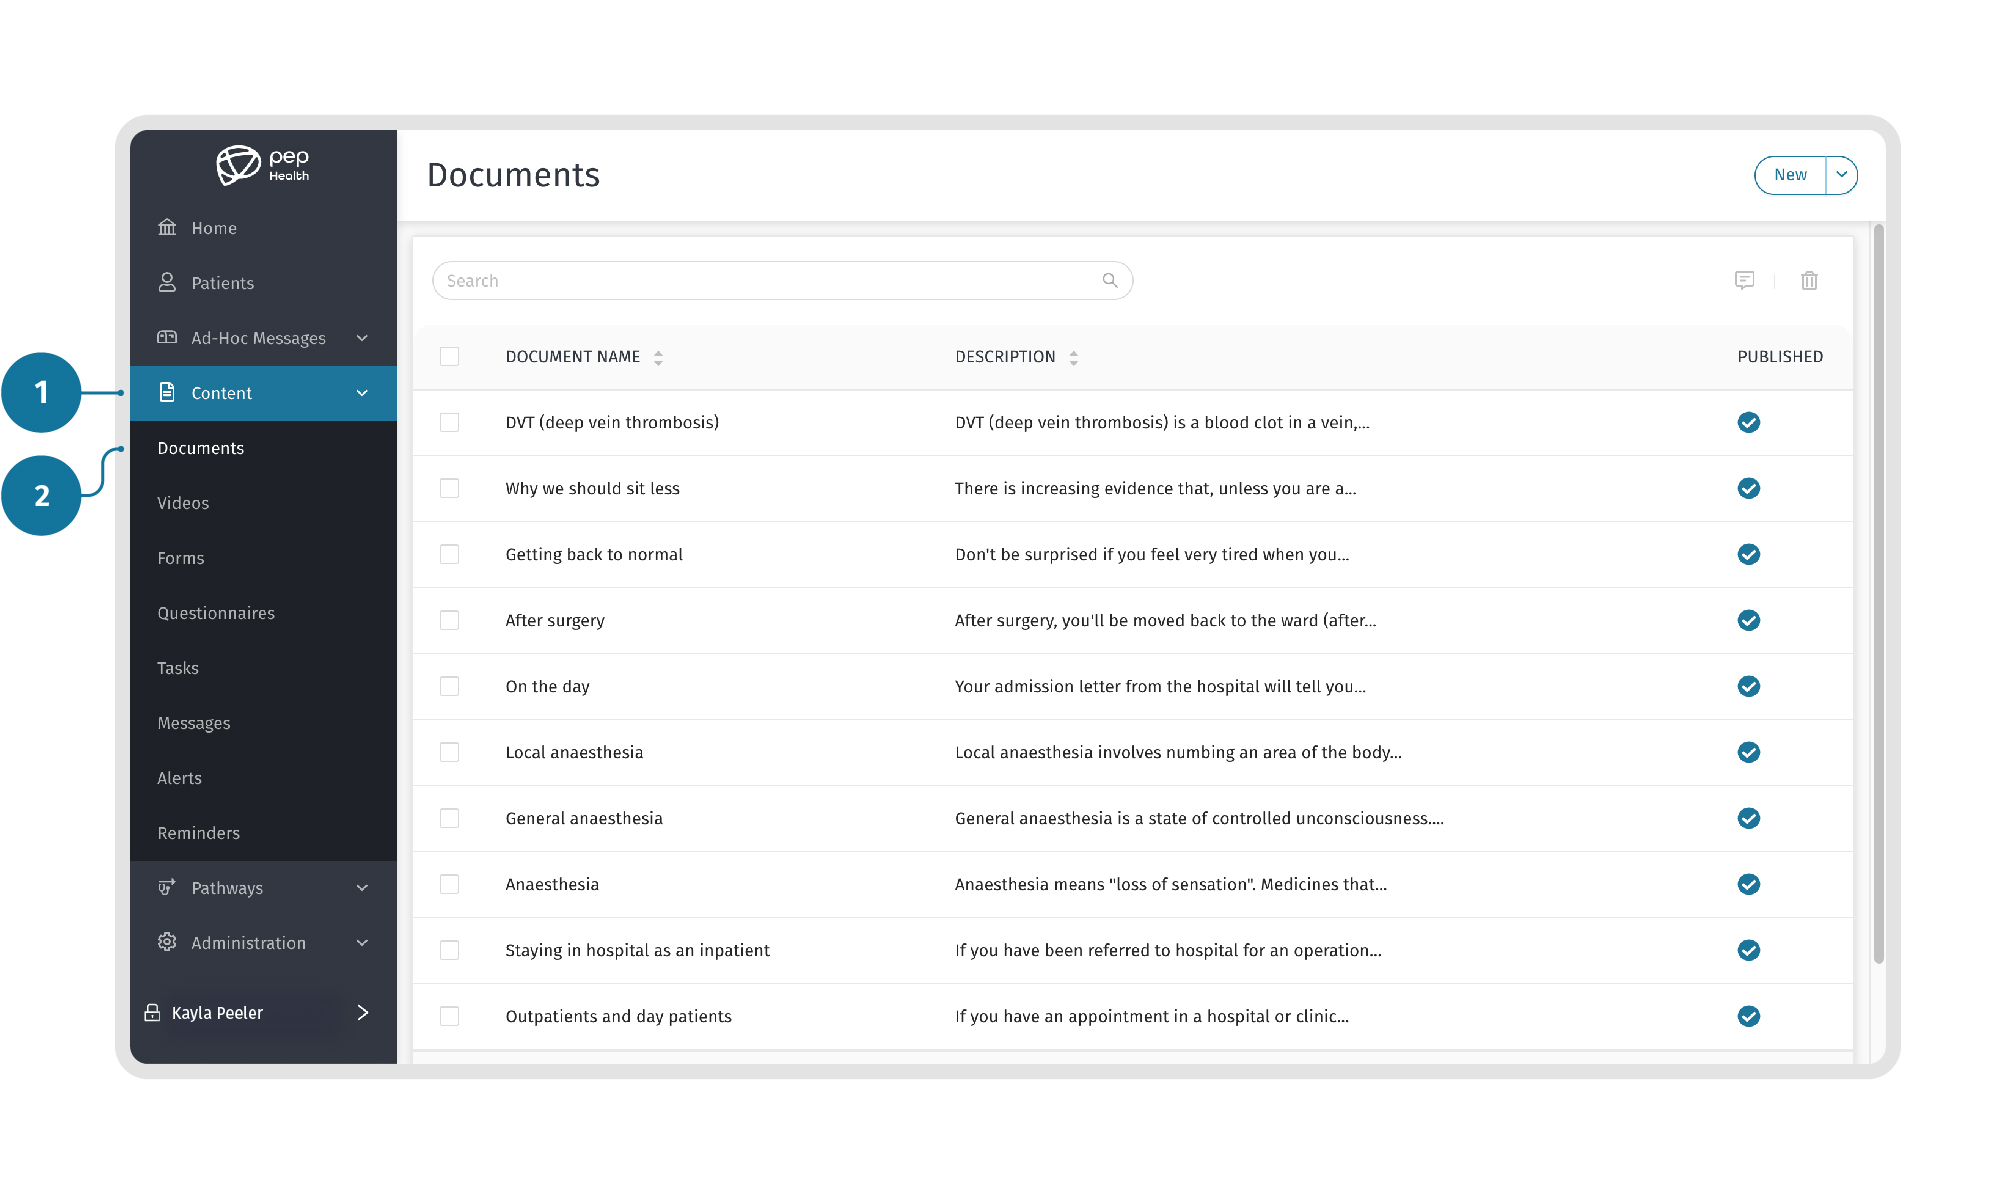
STEP 2: Review Document details
Here you can review the details of the Document by clicking on any of the documents in the main document list.


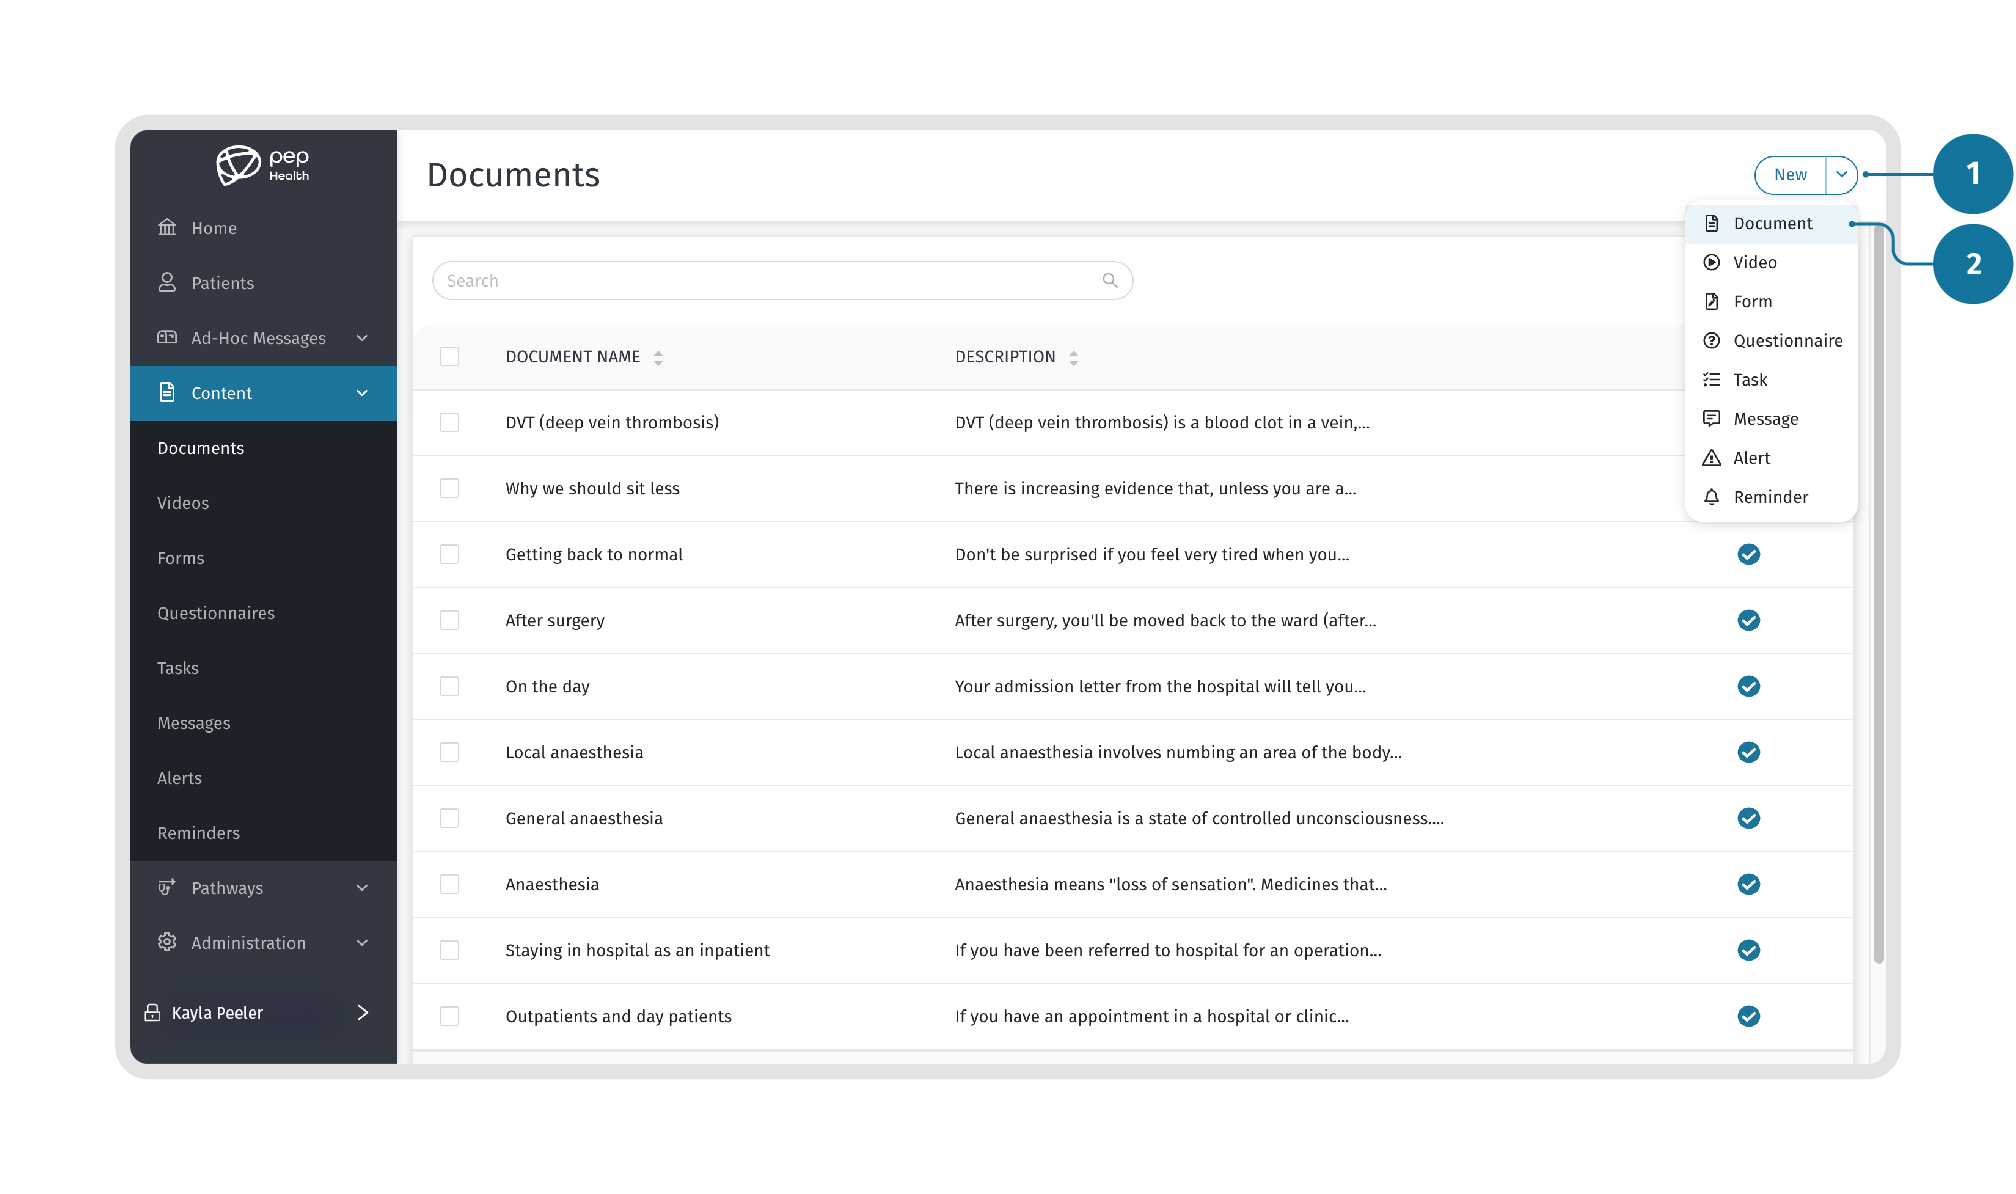
STEP 3: Create a new Document
To create a new Document, click the “New” button in the top right corner of the page to view a drop-down menu.

STEP 4: Add Document Details
Next, start adding the required Details in the fields including the document Title, Description, Language, and Status.
There are two Status options to choose from:
Select “Publish document once created” if you want the document to be published.
Select“Don’t publish document”if you don’t want the document to be published.

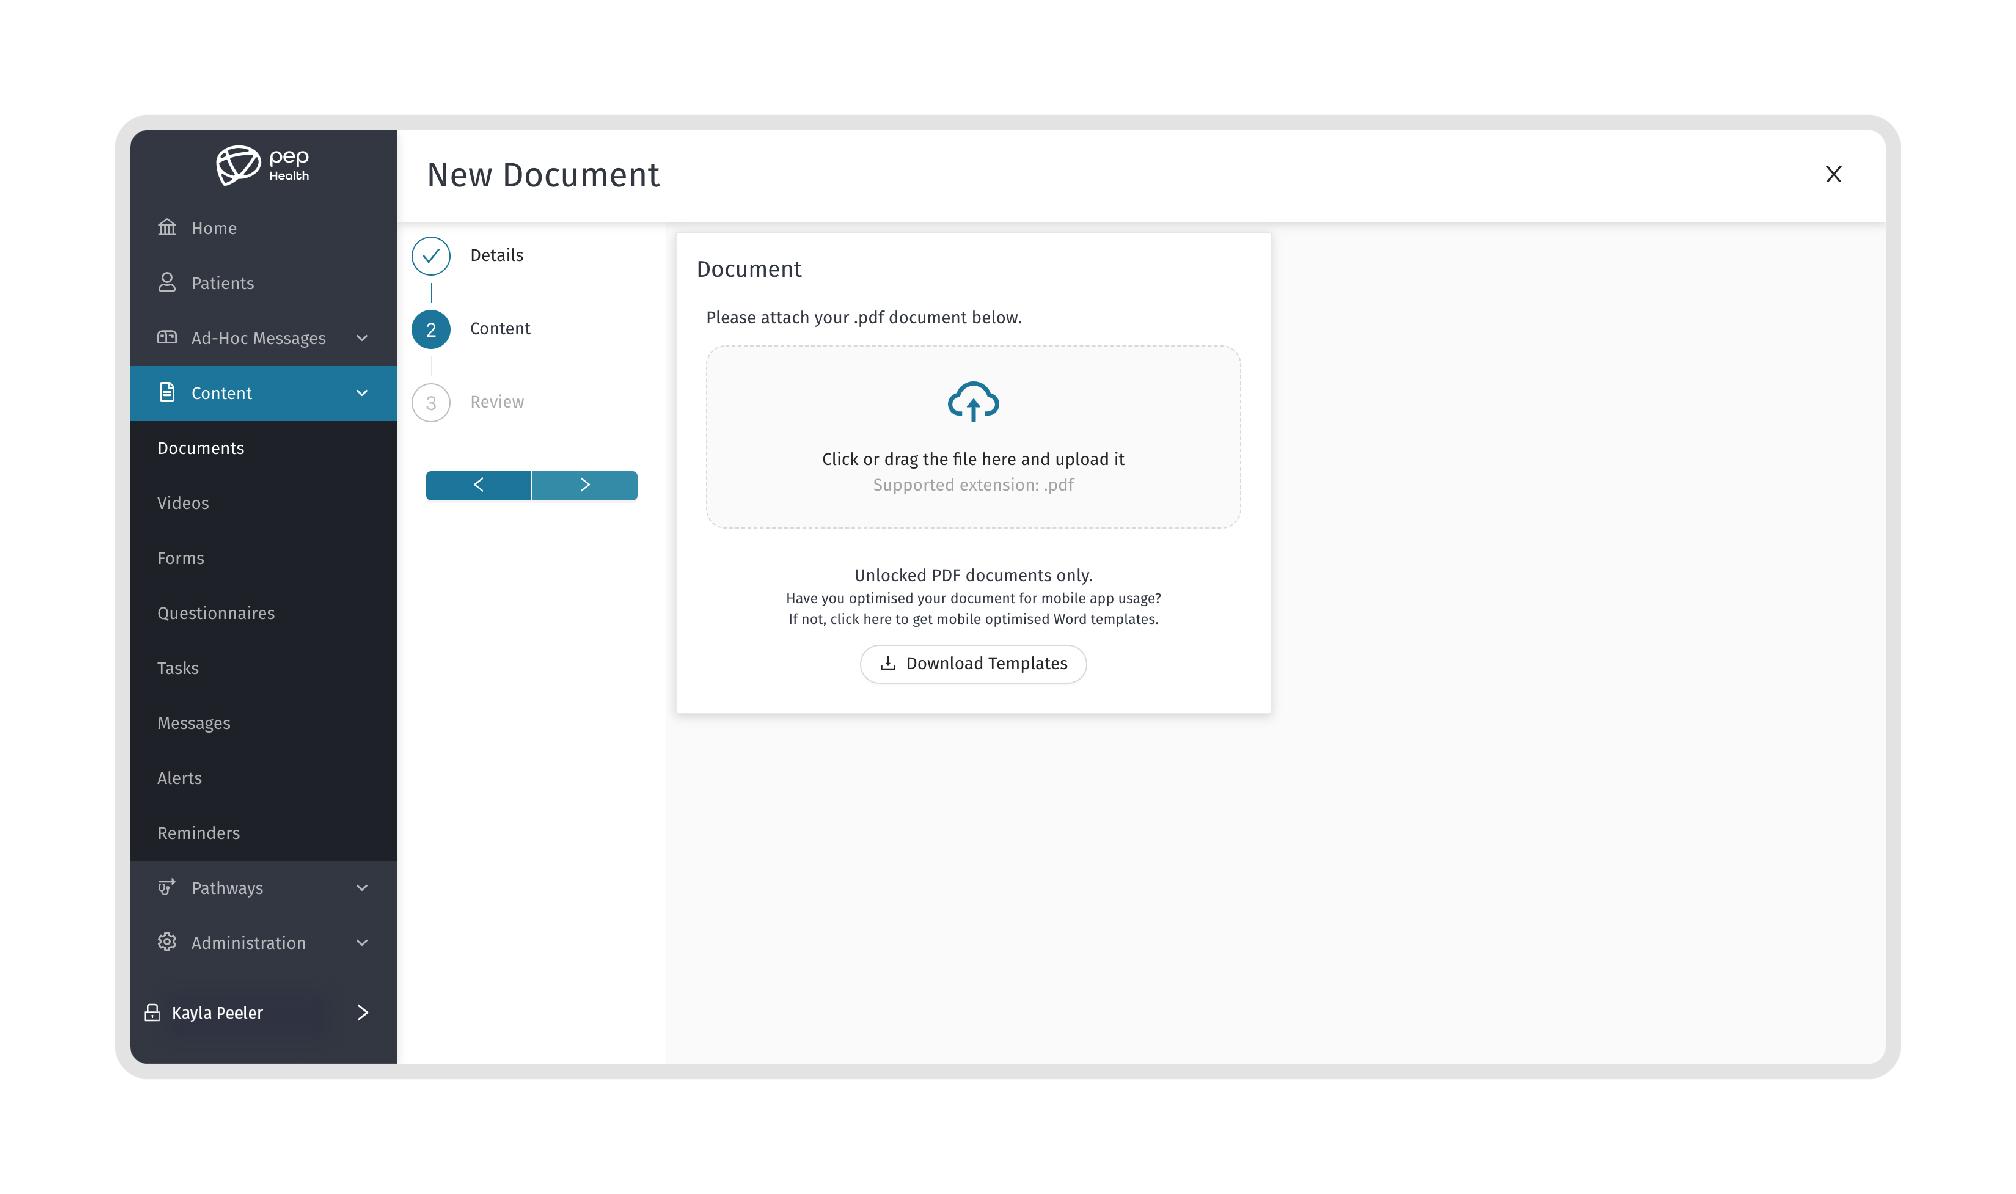
STEP 5: Add Content to a Document
Here you can attach the required PDF content to the Document.
Click on the “Click or drag the file…” option to begin the process of uploading the PDF. This will open a dialogue box to find the PDF on your computer. Select the desired PDF and click upload.
Or click the “Download Templates” option to download a Word.docx file template to generate a standard PDF formatted document.

Next, review your uploaded PDF to make sure it is the correct file. Click the next arrow to continue.

STEP 6: Review the Document
Here you can Review the Document details with the attached content. Press the back arrow to make any changes.
Once reviewed, click on the “Save”button to create the new Document.

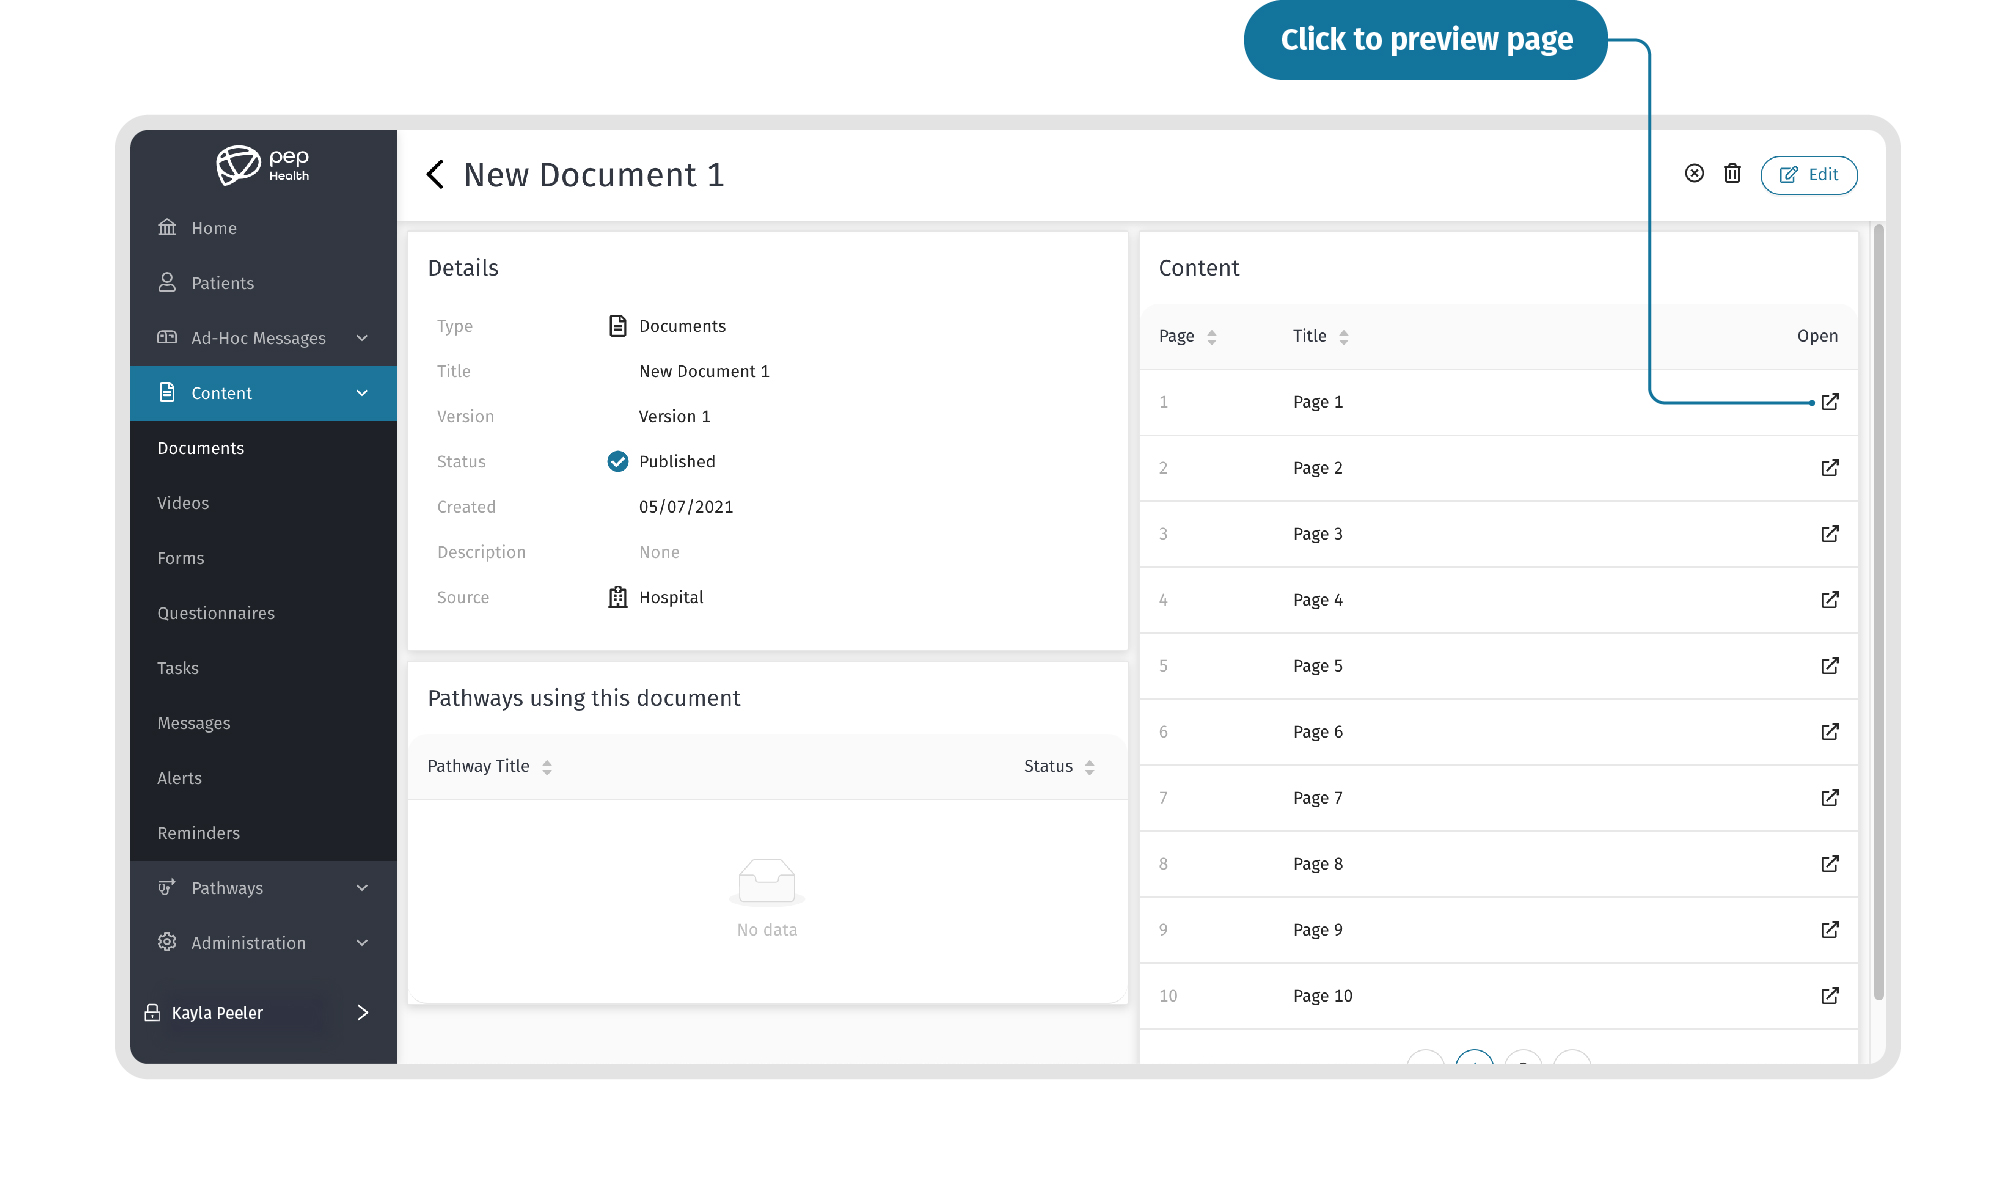
STEP 7: Preview a Document
To preview a document, click on a document in the “Content”section. Click on the Open icon to open and preview the document.


STEP 8: Editing the Document
To edit the Document, a Document, first select it from the document list, then click on the “Edit” option in the top-right corner of the page. Make sure to save any changes made to the Document.

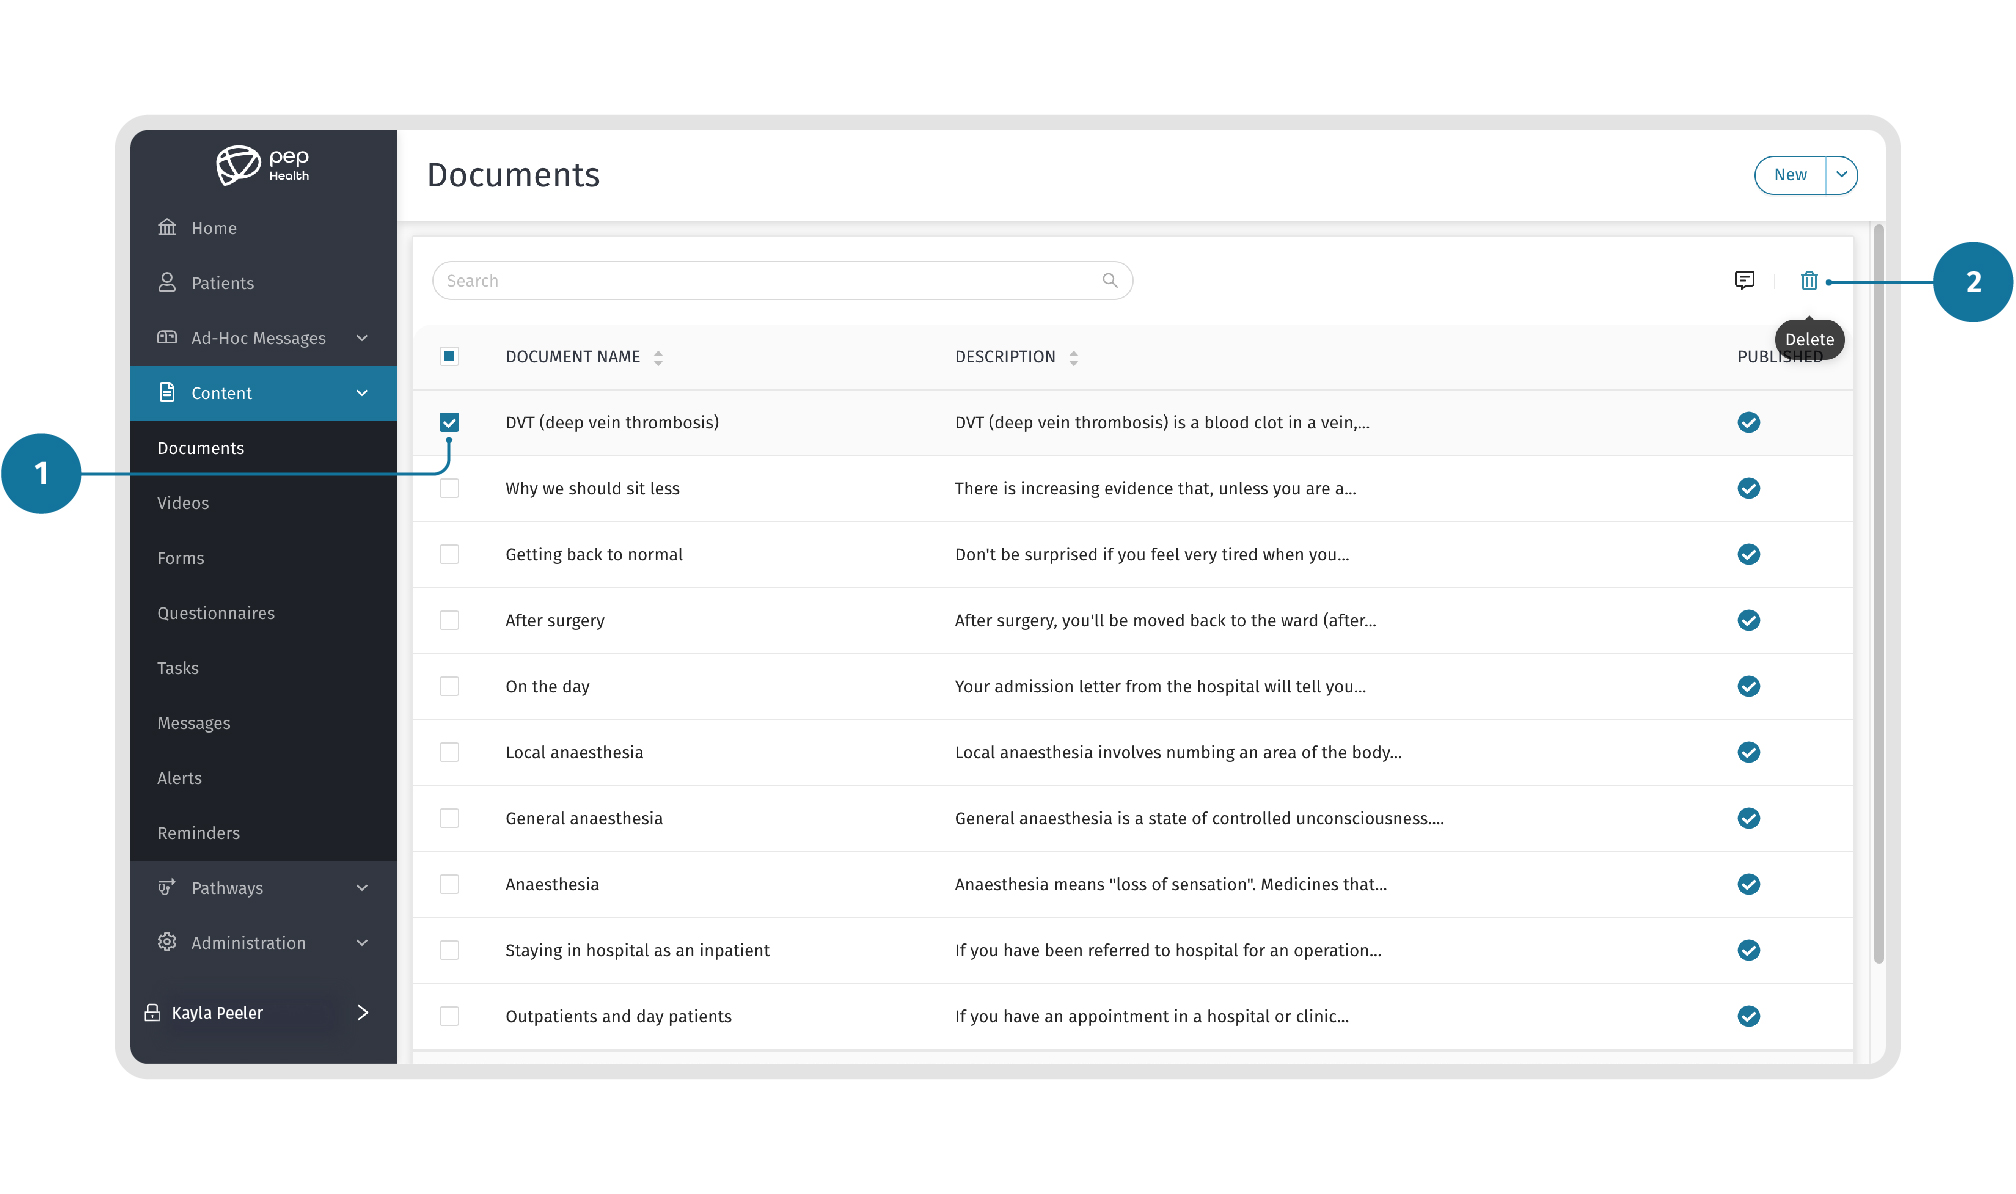
STEP 9: Delete a Document
To delete a Document, document, select the document you want to delete from the main list and click on the Bin icon in the top right corner of the page. A pop up will then ask you to confirm deleting the Document. Click “OK”to delete.

, as shown below.
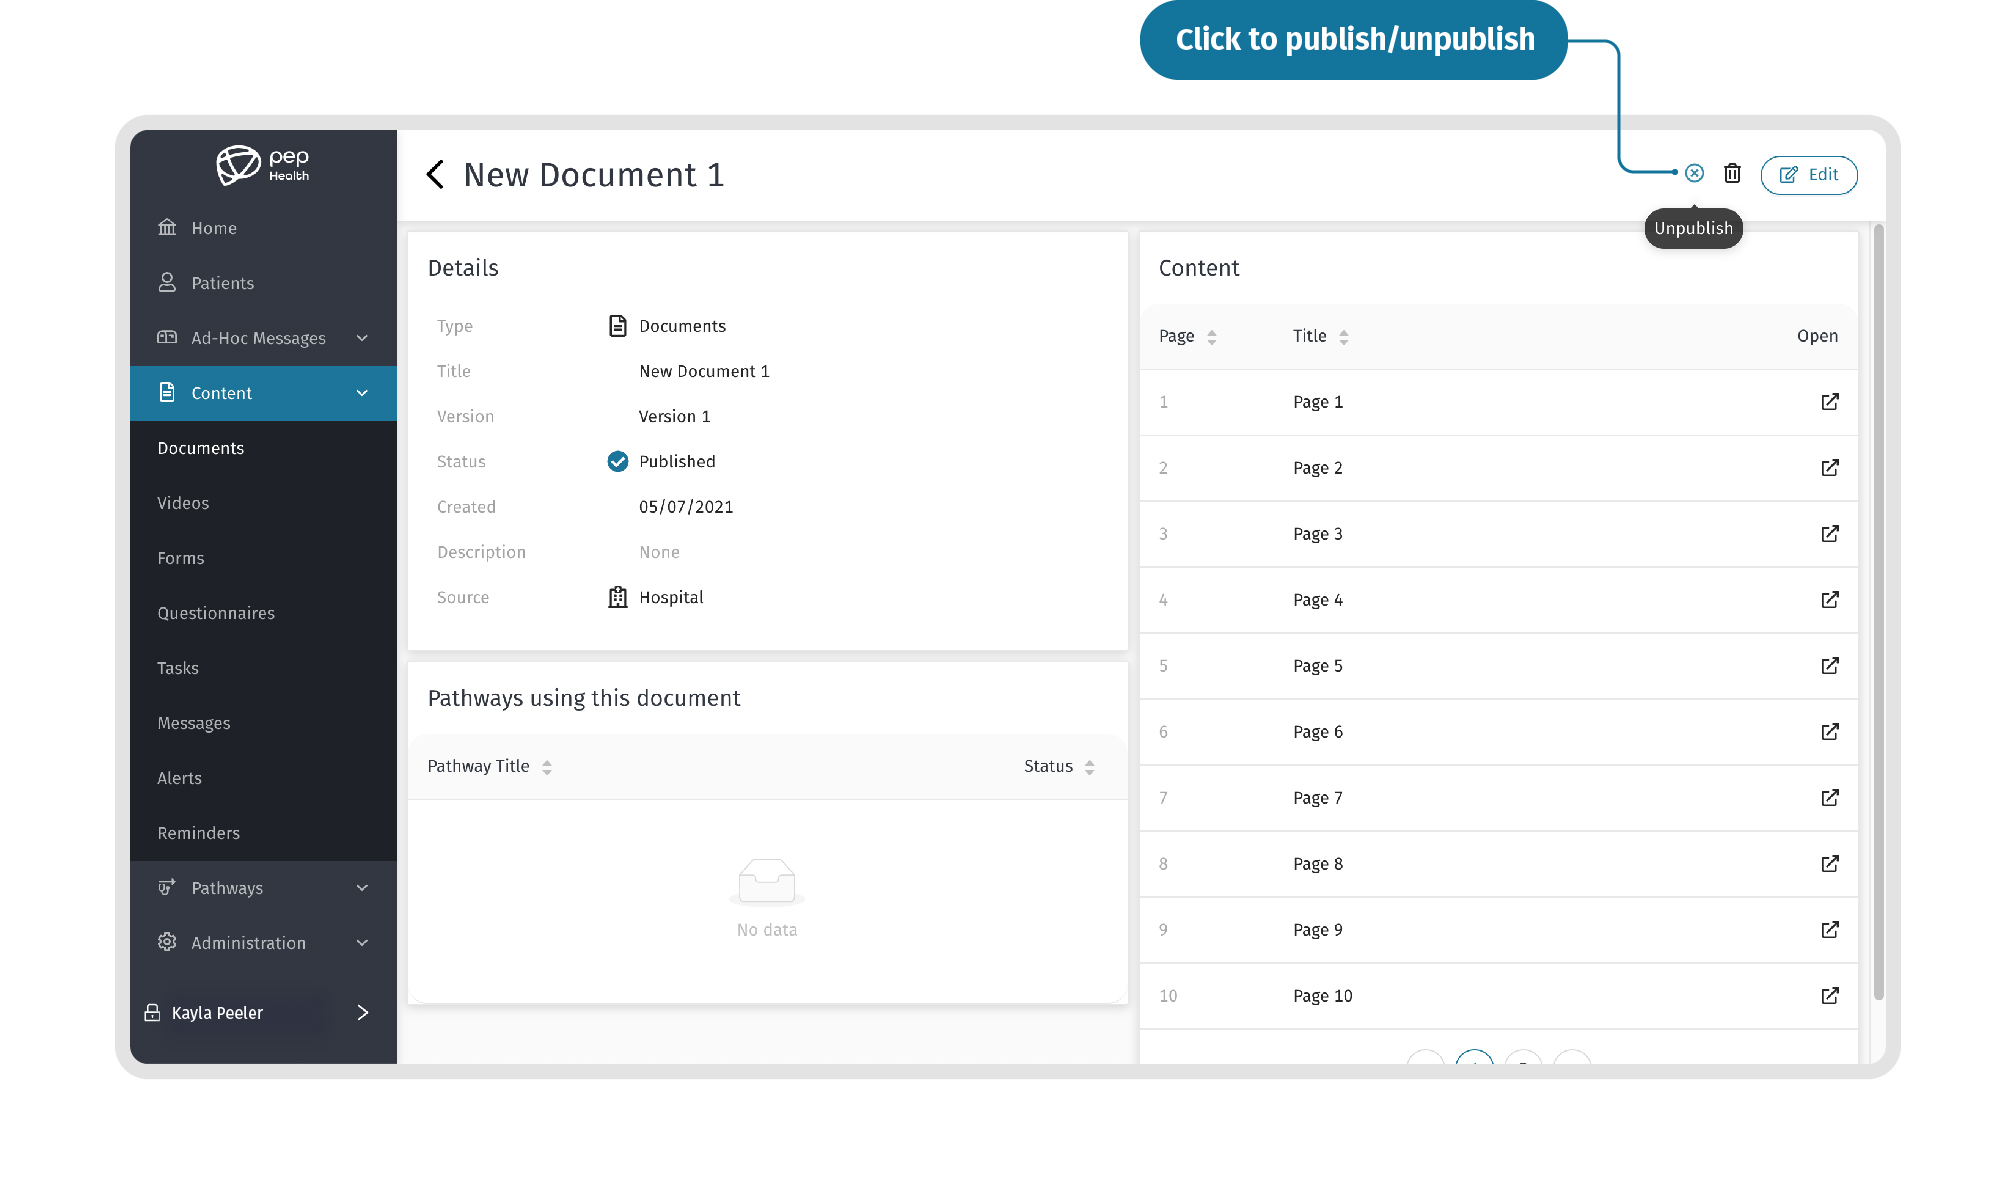
STEP 10: Publish/ Unpublish a Document
You can Publish or Unpublish the Document by selecting the icon in the top right corner next to the Bin icon, as shown below.
Note: Published Documents are visible on Pathways whereas Unpublished documents are not.

STEP 11: Filtering the Documents
You can filter the Documents from the main list by Language type using the Filter icon, as shown in the below.

Related Articles
| Filter by label (Content by label) | |||||||||||||||||||||
|---|---|---|---|---|---|---|---|---|---|---|---|---|---|---|---|---|---|---|---|---|---|
|
| Page Properties | ||
|---|---|---|
| ||
|