| Anchor |
|---|
| Android: Setup for OneSignal |
|---|
| Android: Setup for OneSignal |
|---|
|
OneSignal also works on Android devices. Make sure you have followed the steps in Creating a OneSignal accountbefore completing the Android configuration. - Login to OneSignal.com
- Select your app entry
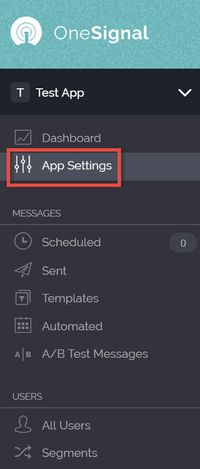
- Click App Settings along the left-hand tab
 Image Removed Image Removed
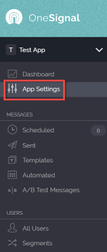 Image Added Image Added
- Select Configure for Android push notification configuration
 Image Modified Image Modified
Open Google Services Wizard
- You will be required to provide Google Server API Key and Google Project Number.
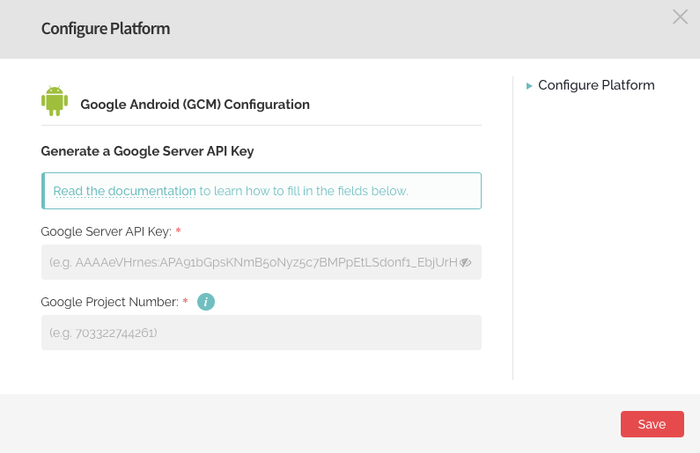 Image Added Image Added
- Open Firebase Console to obtain your Google Server API Key. If you have a Google account, sign in. If not, create a Google account by following the prompts. and Google Project Number.
- Once signed-in, you will be taken to a screen to begin filling out your app details. Your App Name should match the app name in Ubiquity and OneSignal.
 Image Removed Image Removed
Your Android Package Name is a reverse URL that looks something like this: com.android.app. Ubiquity (Liquid State Cloud) will generate an Android Package Name for you. You can obtain this from your account
 Image Removed Image Removed
- Copy and paste this Bundle ID back into Google Services Wizard and click Choose and configure services
 Image Removed Image Removed
Google Services Wizard will prompt you to Enable Google Cloud Messaging, click the button and continue
 Image Removed Image Removed
In the same window, Google Services Wizard will configure your Cloud Messaging and generate a Server API Key and a Sender ID. Leave this tab open or save the keys on your machine. You have completed all relevant parts of the process on Google Services Wizard.
 Image RemovedOpen your desired project (Application) and click on the settings icon. Image RemovedOpen your desired project (Application) and click on the settings icon.
- Click on Project Settings and then proceed to select Cloud Messaging
 Image Added Image Added
- Copy and paste Server Key and Sender ID from Firebase into your OneSignal account. Click Save to complete your OneSignal configuration.
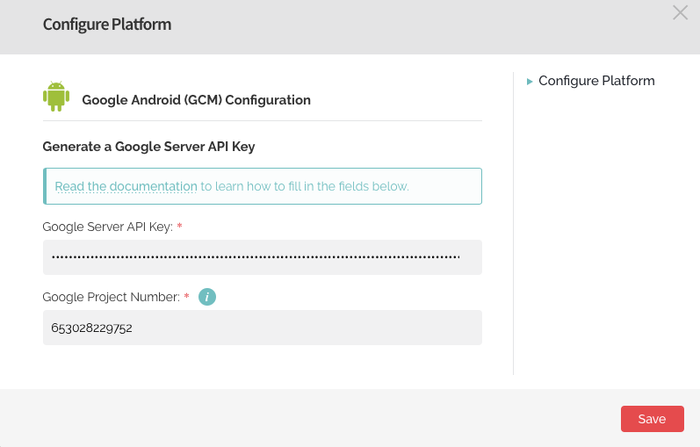 Image Added Image Added
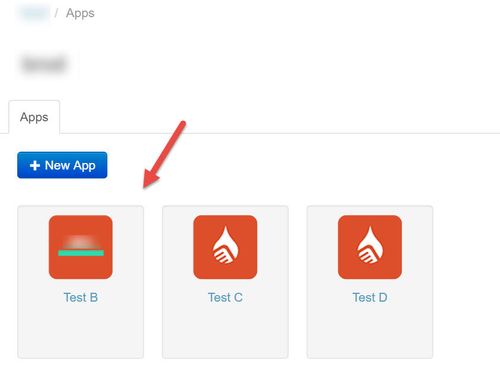
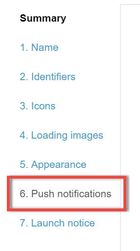
- Open your Ubiquity (Liquid State Cloud) account and click on your app entry. Click on Configuration > Android > Push Notifications as shown below
 Image Removed Image Removed
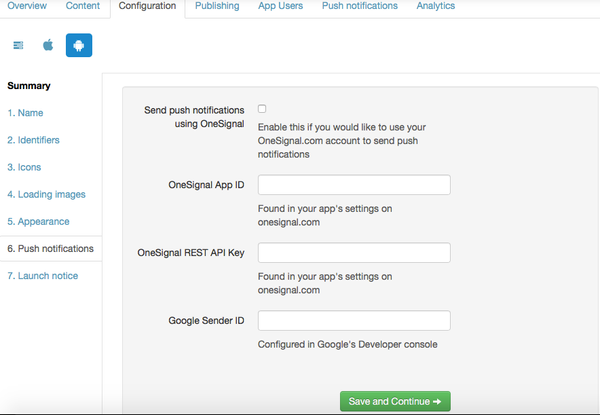 Image Added Image Added
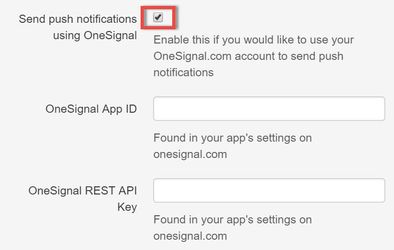
- Select Send Push Notifications using OneSignal. This will allow you to send push notifications to your Android app.
 Image Modified Image Modified
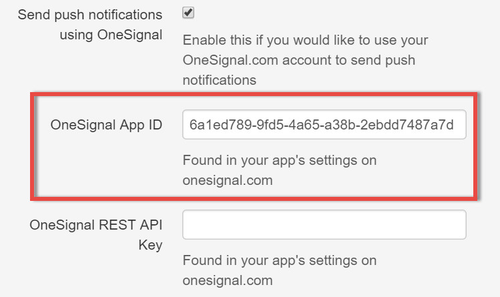
- Copy ONLY the Sender ID and Paste your Google Project Number (Firebase) into the field of Google Sender ID (Ubiquity) into your account. Leave OneSignal ID and OneSignal REST API Key empty for the time being.
The Server API Key is used to authenticate your server when sending messages whilst the Sender ID identifies an app that is permitted to send messages to the client app.
 Image Removed Image Removed
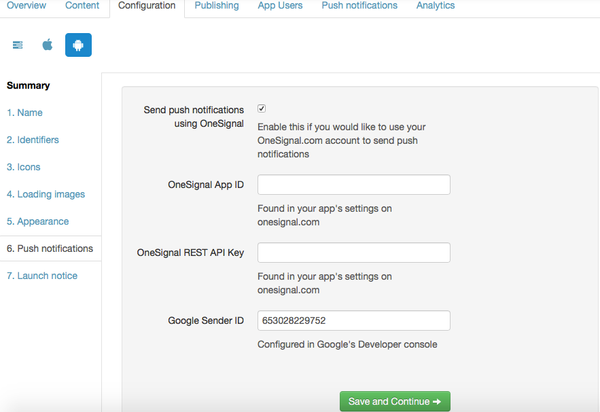 Image Added Image Added
- Navigate back to your OneSignal accountand click Configure underApp Settings > Android
 Image Removed Image Removed
Copy and paste the Server API Key that you generated in the Google Services Wizard and click Save
 Image Removed Image Removed
- Click Continue
 Image Removed Image Removed
Select Android and click Next
 Image Removed Image Removed
OneSignal will generate a unique App ID for your app. Copy this App ID.
 Image Removed Image Removed
Back in Ubiquity, paste your App ID into the OneSignal App ID cell
 Image Removed Image Removed
Back in OneSignal you can cancel the progress of your Android push notifications, all the relevant settings have been configured.
 Image Removed Image Removed
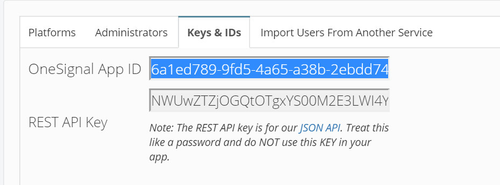
Once you're back in the App Settings screen on OneSignal, click on Keys & IDs
 Image Removed Image Removed
 Image Added Image Added
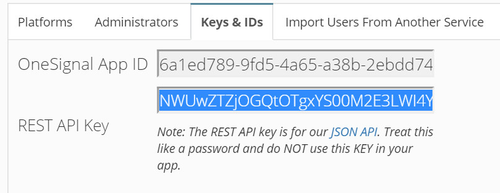
- Copy the REST API Key.
Note: you're and Paste OneSignal App ID is also available here for future reference.
 Image Removed Image Removed
Paste the and REST API Key into your Ubiquity (Liquid State Cloud) account
 Image Removed Ubiquity. Image Removed Ubiquity.
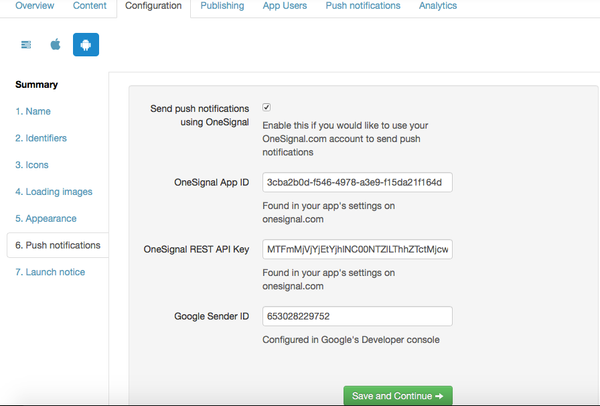 Image Added Image Added
- Click Save and Continue to complete your Android Push Notification configuration
You have now configured your Push Notifications for Android. View instructions for iOS OneSignal configuration or view How to: Send an Instant Push NotificationsNotification. | 


