How to: Send a Scheduled Push Notification
Scheduled push notifications allow you to set a time and message to send in the future. These can be sent to an individual or group if you have them created.
Important
A scheduled message is set in your local time.
- Sign into your Ubiquity (Liquid State Cloud) account
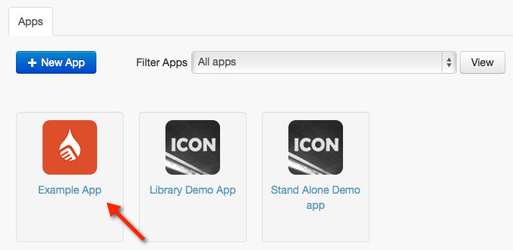
- Click on the relevant app entry in the Apps tab
- Enter the Messaging tab
- View messages that have been sent or upcoming by alternating between these 2 tabs.
- Click New message to write a new message
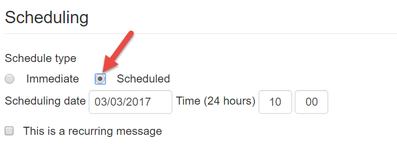
- To send a scheduled message, click Scheduled message
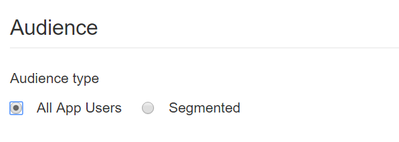
A scheduled message has the ability to recur every x minute, hour, day, week, month or year. - Select the audience you want to deliver the message to. This can be to All App Users or just a Segment of your app user group.
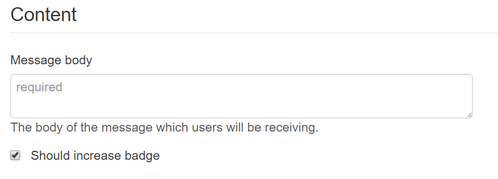
- Enter your message in the Message Body box
- You can also choose Yes or No for the Increment iOS Badge option.
A badge is a small number on a red background, which sits at the top-right of iOS app icons. The number on the badge correlates to how many unread notifications are waiting within the app.
This is a good way to remind users there is a notification waiting in your app. Selecting Yes will increase your app's badge by an increment of 1. - Finalize your message and options, then click the Create button. Your push notification will be sent to all relevant users' devices.
Unless otherwise indicated in the Overview page of this WIKI the information contained within this space is Classified according to the /wiki/spaces/ISMS/pages/739344530 as |
INTERNAL |


