How to: Upload your iOS App to iTunes Connect
Uploading to iTunes Connect is the first step to releasing your app on the app store OR distributing it through Testflight. Both App Store releases and Testflight release will require you to upload your app using a handy tool called Application Loader.
Once you have fully configured your app, and created an App Record in iTunes Connect, you are ready to upload your app's .ipa file (also referred to as 'binary') using Application Loader.
Configuring your app includes creating Certificates, Identifiers, and Profiles in the Apple Developer Portal, Signing your app, and creating an app entry in iTunes Connect.
If you aren't sure if your app is fully configured and ready to go, please see these pages before you begin:
- Mac Computer
- Xcode
- Application Loader
- Signed iOS App (with App Store Profile)
- Configured iTunes Connect Record
- Apple Developer
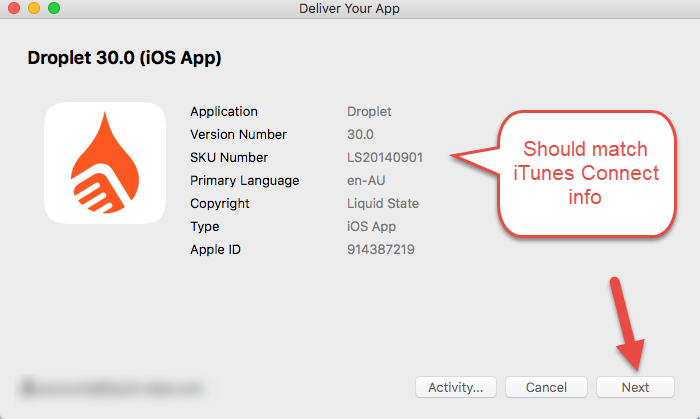
To upload your app to iTunes Connect:
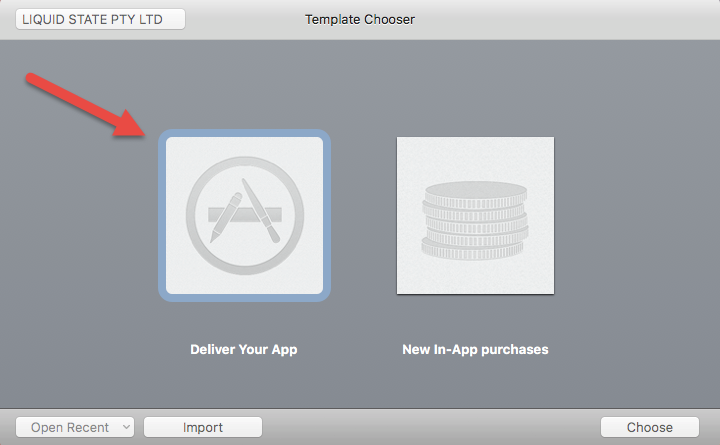
![]() )
)
Unless otherwise indicated in the Overview page of this WIKI the information contained within this space is Classified according to the /wiki/spaces/ISMS/pages/739344530 as |
INTERNAL |