Customise in5 Page Thumbnails
- Oliver Michael (Unlicensed)
- Broderick Gaggi (Unlicensed)
Overview
In some circumstances, you may need to replace the page thumbnails that are automatically included in an in5 HTML export.
The following steps are a workaround for using custom thumbnails without having to replace them in Ubiquity.
These steps involve replacing the page thumbnail files in your in5 output with your own thumbnails, by editing the HTML output folder.
Do not use this method unless Liquid State support have recommended you do so.
You will need:
A custom thumbnail image,150 x 200px, in JPEG format.
Replace the Default in5 Page Thumbnails
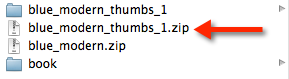
- Open the html5_output folder in your chosen in5 export location. Identify your HTML output .zip file.
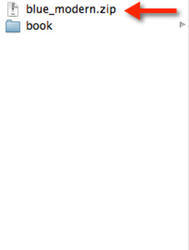
- Double-click the output .zip to make a decompressed version of the output folder. Rename this folder with a distinct name.
This way, if something should go wrong down the track, you haven’t edited the original .zip and you can easily repeat the process.
- Open the folder you just created.
Within the folder, you will see an HTML page corresponding with each page of your document. You will also see some other files, and an assets folder.
Open the assets folder.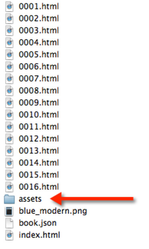
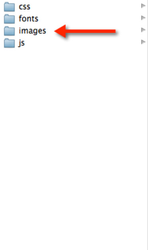
- Within the assets folder, open the images folder
- Amongst the images, you will see two thumbnail images for each page of the document. These files will be named ‘pagethumb_####.jpg’ and ‘pagethumb-sm_####.jpg’ (where #### corresponds to the page number).
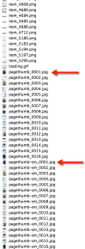
You will need to replace both of these images for each page.
Your replacement image must have the exact same name as the file you are replacing, including the .jpg extension. - To replace the thumbnail files, duplicate your custom thumbnail image.

Name one of your custom thumbnail files ‘pagethumb_####.jpg’, and the other ‘pagethumb-sm_####.jpg’.
If you were replacing the first page of your document, you would name the files ‘pagethumb_0001.jpg’ and ‘pagethumb-sm_0001.jpg’.
If you were replacing the eleventh page of your document, you would name the files ‘pagethumb_0011.jpg’ and ‘pagethumb-sm_0011.jpg’.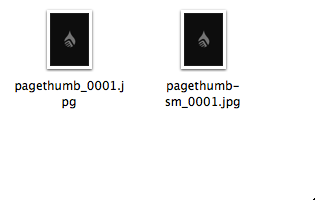
- Delete/remove the old thumbnail files from the images folder, then add your newly renamed replacement files to the images folder.
- Repeat steps 6-8 for each page where you need a custom thumbnail.
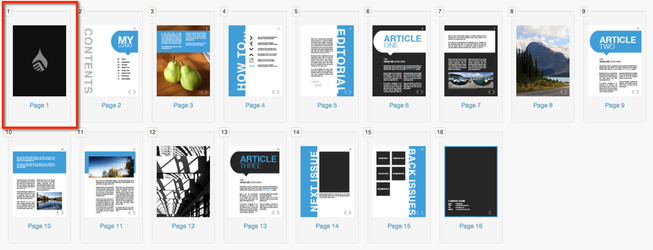
Generally, you only need to replace the thumbnails for pages which will be included in your document’s Table of Contents (ToC). - Once you have replaced all the relevant thumbnail images, navigate back to your duplicate output folder, and compress it in to a .zip.
- Import this .zip to your Ubiquity Account in the usual way. Your custom thumbnail(s) will be automatically included.
Related content
Unless otherwise indicated in the Overview page of this WIKI the information contained within this space is Classified according to the /wiki/spaces/ISMS/pages/739344530 as |
INTERNAL |